5 Steps for Effective Rotor Repair
Dealing with rotor issues can be frustrating, and if you’ve ever faced vibrations, cracks, or other problems, you’re not alone. Many people struggle with effective rotor repair and wonder where to start or how to ensure the job is done right.
Whether you’re a DIY enthusiast or a professional, knowing the right steps can save you time and stress.
To effectively repair rotors, start by spotting common problems like vibrations or cracks and understanding rotor materials.
Next, prepare your workspace and tools for a smooth process.
Safely remove the rotor, clean it thoroughly, then decide whether to resurface, weld, or replace based on damage severity.
Finally, inspect and test the repaired rotor for proper function and safety.
Follow these steps closely, and you’ll be ready to tackle repairs like a pro.
Key Takeaways
- Identify rotor issues like vibrations, cracks, or uneven wear to determine necessary repair actions early.
- Prepare a clean, organized workspace and inspect tools before starting the repair process.
- Safely remove the rotor by loosening lug nuts, jacking up the vehicle, and detaching calipers carefully.
- Choose to resurface, weld, or replace the rotor based on damage severity and cost-effectiveness.
- Inspect repaired rotor for surface quality, measure thickness, reinstall, and test for smooth operation and safety.
Spot Common Rotor Repair Problems and Signs

Before you begin any rotor repair, you need to spot the common problems early. Pay attention to signs like vibrations, squealing noises, or uneven brake wear, as these often indicate rotor issues.
Understanding the rotor material is essential because cast iron rotors may warp more easily, while composite materials can show different wear patterns. Identifying the exact problem saves you from unnecessary repair costs by targeting the right fix.
Cracks, deep grooves, or excessive thinning are telltale signs that your rotor needs attention. If you ignore these symptoms, you risk increasing repair costs or even damaging other brake components.
Get Your Workspace and Tools Ready for Repair
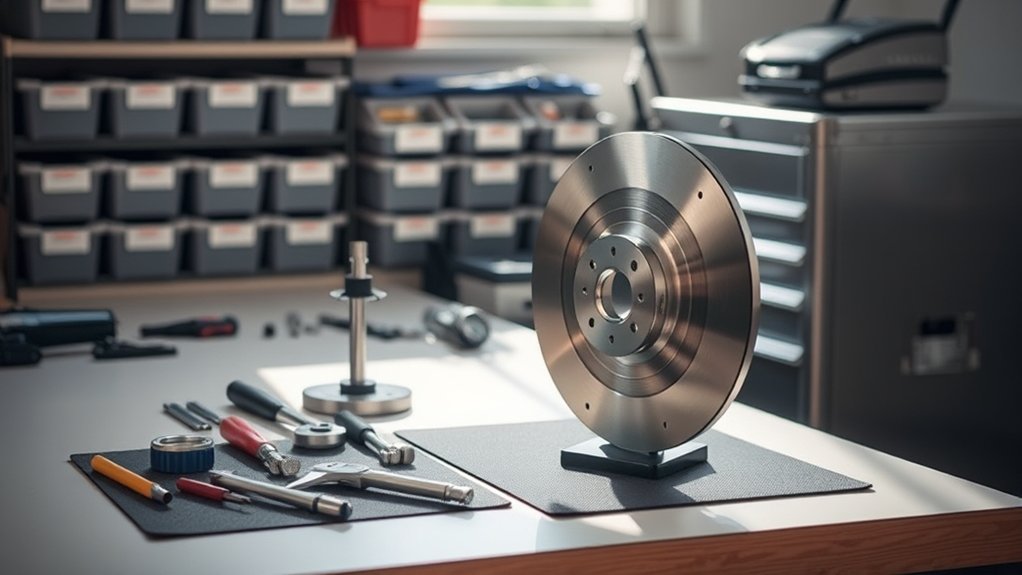
Setting up a clean, organized workspace is essential for a smooth rotor repair. Begin by clearing your area of any unnecessary items to prevent clutter and distractions. Workspace organization not only helps you find tools quickly but also reduces the risk of losing small parts.
Next, focus on tool maintenance. Inspect all your tools, ensuring they’re clean, sharp, and in good working condition. Dull or damaged tools can hinder your progress and cause errors.
Arrange your tools logically, grouping similar items together for easy access. Having everything within reach saves time and keeps you efficient throughout the repair.
Don’t forget to prepare a surface where you can safely place the rotor and its components without risk of damage. By prioritizing workspace organization and tool maintenance, you set yourself up for a more effective and hassle-free rotor repair experience.
This preparation is key before you move on to the actual removal and cleaning steps.
Safely Remove and Clean the Rotor

How do you safely remove and clean the rotor without causing damage? Start by recognizing the importance of safety gear. Gloves and eye protection shield you from debris and sharp edges.
Next, consider rotor material selection. Different materials require specific handling to avoid warping or scratching.
Follow these steps to safely remove and clean the rotor:
- Loosen lug nuts slightly with the vehicle on the ground to prevent rotor spinning.
- Jack up the vehicle and secure it with stands before fully removing the wheel.
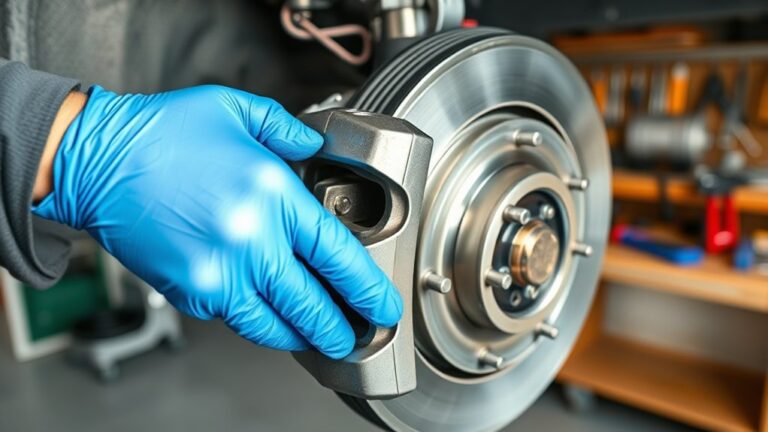
- Carefully detach the caliper and brake pads without stressing the brake line. Hang the caliper safely.
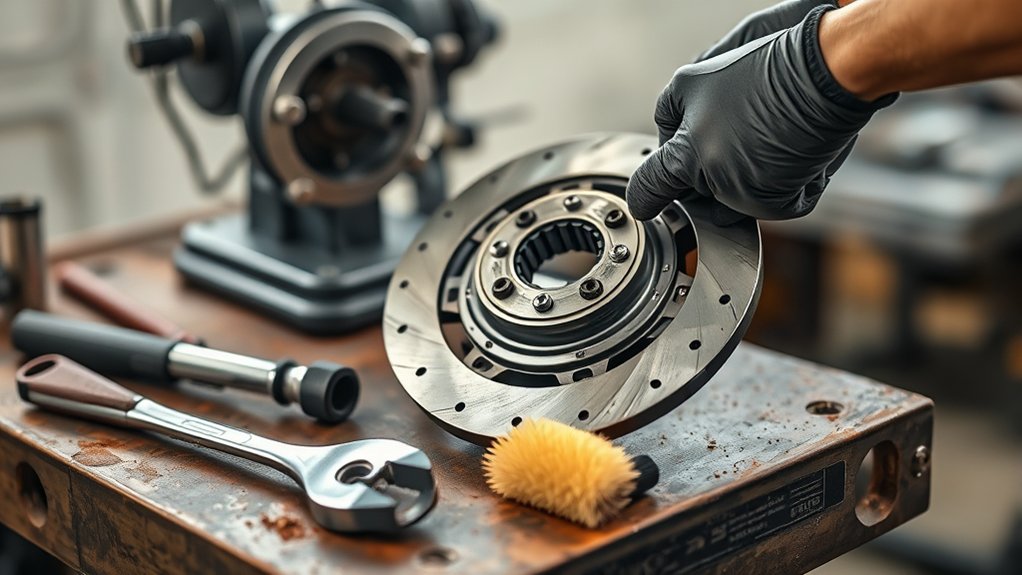
- Remove the rotor and clean it using brake cleaner and a lint-free cloth, avoiding harsh abrasives.
Repair Rotors by Resurfacing, Welding, or Replacing
When your rotor shows signs of wear or damage, you’ll need to decide whether resurfacing, welding, or replacing it is the best solution. Resurfacing can restore a smooth surface and extend rotor life, but it’s only effective if the rotor thickness remains within manufacturer specifications.
Welding comes into play when cracks or severe damage exist; however, you must guarantee the filler material matches the rotor’s original metal to maintain material compatibility and structural integrity. If damage is too extensive or repair costs approach replacement prices, swapping the rotor out entirely may be more practical.
Before proceeding, perform a repair cost estimation comparing resurfacing, welding, and replacement expenses, factoring in labor and downtime. Choosing the right method depends on the rotor’s condition, safety standards, and budget constraints.
Inspect and Test Your Repaired Rotor
After completing the repair, you’ll want to thoroughly inspect and test your rotor to make certain it’s safe and performs as expected. Start by reviewing your repair documentation to confirm that the correct material selection was used, ensuring durability and compatibility.
Next, visually inspect the rotor for any surface irregularities or cracks that might have been missed during repair. Then, measure the rotor’s thickness and balance to verify it meets manufacturer specifications.
Finally, conduct a functional test by reinstalling the rotor and checking for smooth operation without vibrations or unusual noise.
Here’s a quick checklist:
- Verify repair documentation and material selection.
- Perform a detailed visual inspection.
- Measure rotor thickness and balance.
- Test rotor function under real operating conditions.
Frequently Asked Questions
How Often Should Rotors Be Inspected for Maintenance?
You should perform rotor inspection every 10,000 to 15,000 miles to maintain ideal brake performance. Regular checks help you spot wear, warping, or damage early, preventing costly repairs and ensuring safety.
If you notice vibrations or reduced braking efficiency, inspect your rotors immediately. Staying proactive with rotor inspection keeps your brakes responsive and extends the lifespan of your braking system, saving you time and money in the long run.
What Types of Vehicles Have the Most Rotor Issues?
You’ll find that trucks and SUVs often have the most rotor issues because their heavier weight puts extra stress on brake pads and rotors. When you drive these vehicles, brake pad wear happens faster, leading to rotor damage.
You’ll likely need rotor resurfacing more frequently to maintain smooth braking. So, if you own a heavier vehicle, keep a closer eye on your brake pads and rotors to avoid costly repairs.
Can Rotor Repair Affect Vehicle Warranty Coverage?
When it comes to rotor repair, you need to tread carefully. Warranty implications can be a minefield. If you don’t use authorized service centers or approved parts, your repair coverage could be voided, leaving you on the hook for costly fixes.
Always check your vehicle’s warranty terms before proceeding. Sticking to the manufacturer’s guidelines ensures your warranty stays intact while keeping your rotors in top shape.
What Are the Environmental Impacts of Rotor Disposal?
You should know rotor disposal can harm the environment if not handled properly. Environmental regulations require you to follow specific guidelines to prevent pollution from metals and chemicals.
Luckily, you can use recycling methods to minimize waste by turning old rotors into reusable materials. By doing this, you help reduce landfill overflow and conserve natural resources.
Always check local regulations to guarantee your rotor disposal is eco-friendly and compliant.
Are There Specialized Tools for Professional Rotor Repair?
Yes, you’ll need specialized tools and professional equipment for effective rotor repair. These tools help you measure rotor thickness, detect warping, and resurface the rotor accurately.
Without them, you risk improper repairs that compromise safety and performance. Using professional equipment guarantees you can restore the rotor to manufacturer specifications, giving you confidence in your work and extending the rotor’s lifespan.
Don’t skip investing in the right tools!
Conclusion
Just like a well-tuned clock keeps perfect time, a properly repaired rotor guarantees your vehicle runs smoothly and safely. By spotting issues early, preparing your workspace, carefully removing and cleaning the rotor, and choosing the right repair method, you’re restoring balance and precision.
When you inspect and test your work, you’re polishing the gears of reliability. Adopt these steps, and your rotor will spin strong, symbolizing the heart of your vehicle’s steady rhythm. Effective rotor repair ensures your vehicle stays safe and performs at its best.