
How to Perform Auto Brakes Repair at Home
Auto brakes giving you trouble can be frustrating and even scary. You’re not alone—many people struggle with noisy brakes, soft pedals, or uneven stopping power. Finding the right tools and knowing how to fix these issues at home can save you time and money, and give you peace of mind on the road.
You can repair your auto brakes repair at home by first diagnosing issues like noises, pedal softness, or uneven braking. Gather essential tools and lift your vehicle safely using a jack and stands. Remove and inspect pads and rotors, replacing or resurfacing damaged parts.
Check and bleed brake fluid to remove air bubbles. Clean and lubricate components to fix noise, then adjust the pedal for proper feel. Following these steps carefully guarantees safe braking, and there’s more to master for thorough brake care.
Key Takeaways
- Diagnose brake issues by identifying noises, checking fluid levels, and inspecting pads, rotors, and brake lines for wear or leaks.
- Gather essential tools like wrenches, brake bleeder kits, and safety gear. Use proper lifting equipment to safely access brake components.
- Remove calipers and pads carefully. Inspect rotor thickness and condition, then replace or resurface rotors as needed.
- Bleed brake fluid by opening bleeder valves and flushing air bubbles starting from the farthest wheel. Make sure to use clean, compatible brake fluid.
- Eliminate brake noise by cleaning and lubricating parts. Adjust pedal travel for a proper feel, and perform final safety checks before driving.
How to Diagnose Common Auto Brake Problems
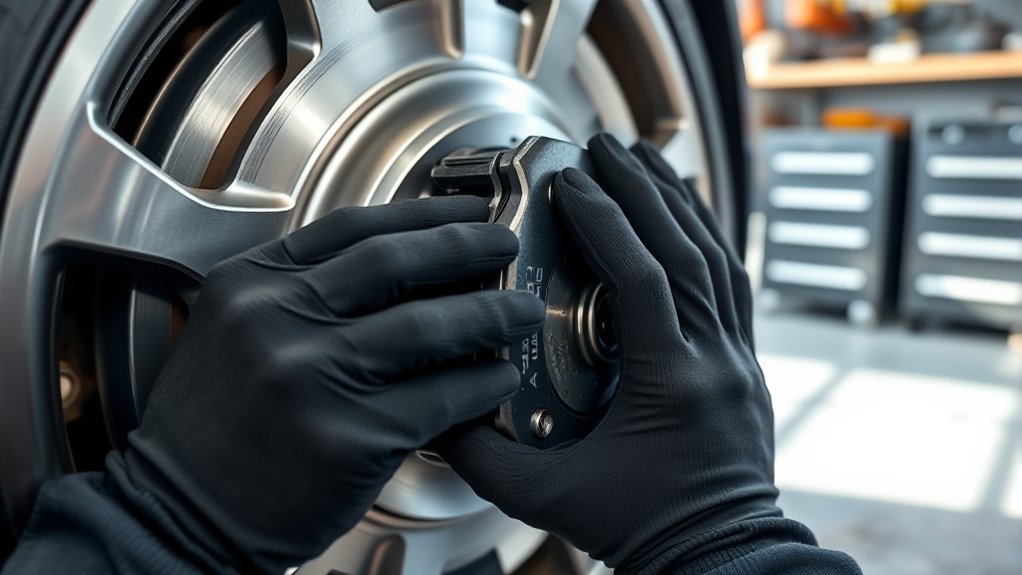
Before you plunge into repairing your brakes, you need to pinpoint the exact problem. Start by paying attention to symptoms like squealing, grinding, or a soft brake pedal. These often indicate worn pads or air in the brake lines.
Check your brake fluid level and quality, since different brake fluid types, such as DOT 3, DOT 4, or DOT 5, affect performance and compatibility. Low or dirty brake fluid can cause spongy brakes or failure. Inspecting brake fluid is a key part of brake system maintenance you can’t skip.
Next, look for leaks around the wheel cylinders, calipers, and brake lines. Fluid loss compromises braking power. Uneven braking or pulling to one side may signal warped rotors or stuck calipers.
Essential Tools for Brake Repair at Home
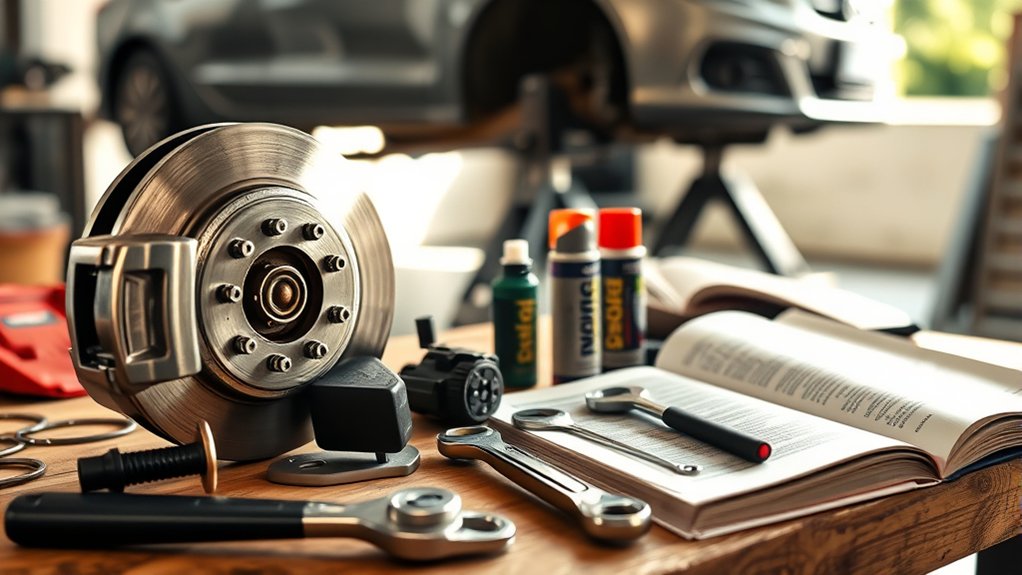
Before you start repairing your brakes, you’ll want to make sure you have the right tools to get the job done safely and effectively. That means having some basic hand tools ready, along with safety gear to keep you protected.
You’ll also need a few specialized brake tools that are designed for specific tasks. Let’s take a look at what you should have on hand to make your brake repair go smoothly and securely.
Basic Hand Tools
Although brake repair might seem intimidating, having the right basic hand tools makes the job manageable and efficient. You’ll need tools that help with disassembling brake components and handling brake fluid color, which is essential for avoiding contamination.
Color matching brake fluid with your vehicle’s specifications ensures maximum performance. Here’s a table to visualize essential hand tools:
| Tool Name | Purpose | Tip |
|---|---|---|
| Wrench Set | Loosening bolts | Use correct size to avoid stripping |
| Screwdrivers | Removing clips and screws | Flathead and Phillips types |
| Brake Piston Tool | Compressing pistons | Prevents damage to brake calipers |
| Brake Bleeder | Removing old brake fluid | Matches brake fluid color |
| Pliers | Holding and pulling parts | Needle-nose preferred |
With these tools, you’re well prepared for effective brake repair at home.
Safety Equipment Needed
Since brake repair involves handling heavy parts and hazardous fluids, you’ll need proper safety equipment to protect yourself from injury and contamination. Start with durable gloves to shield your hands from sharp edges and brake fluid, which can irritate your skin.
Wear safety goggles to protect your eyes from dust, debris, and fluid splashes. A dust mask is essential to prevent inhaling brake dust, which contains harmful particles.
Don’t forget sturdy, closed-toe shoes to protect your feet from dropped tools or parts. Keep a fire extinguisher nearby as part of your emergency preparedness, just in case of unexpected sparks or spills.
Having this safety gear ready guarantees you can work confidently and reduce risks throughout your brake repair process.
Specialized Brake Tools
With your safety gear in place, you’ll want to gather the right tools to tackle brake repairs effectively. Essential specialized brake tools include a brake caliper tool set, which helps you compress pistons during brake caliper repair.
A good brake bleeder kit is vital for flushing and refilling brake fluid, especially since you’ll need to know the correct brake fluid types for your vehicle. Don’t forget a torque wrench to tighten bolts to manufacturer specs and a brake line wrench to avoid rounding off fittings.
A quality jack and jack stands ensure your car stays stable while you work. Having these tools on hand not only makes brake caliper repair easier but also guarantees you complete the job safely and correctly.
How to Safely Lift Your Vehicle for Brake Repair
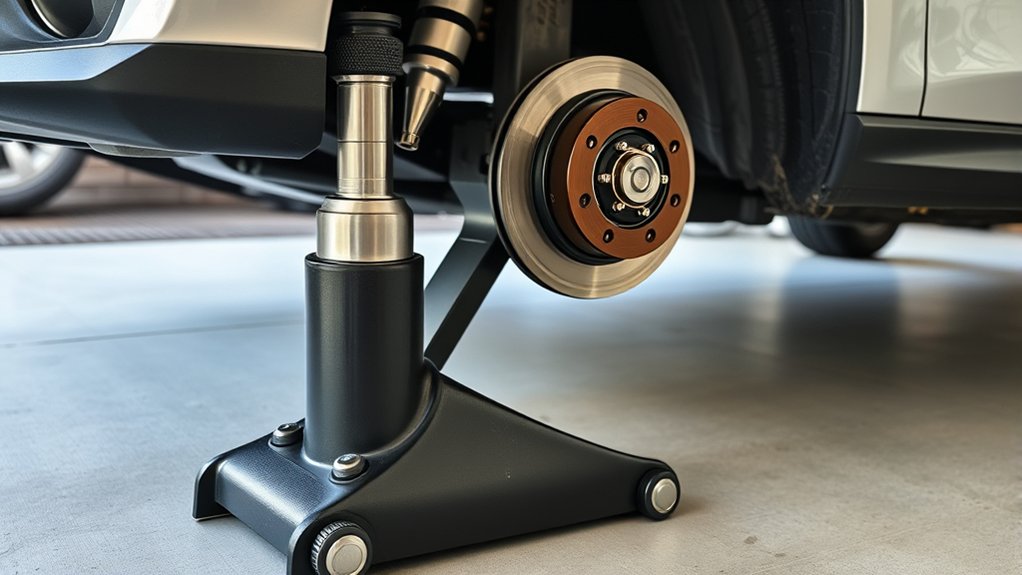
Before you start working on your brakes, you’ll want to lift your vehicle safely. It’s important to use the proper jack points—this helps avoid any damage and keeps your car stable.
And don’t forget, always support the vehicle with jack stands. This extra step is key to preventing accidents while you’re working underneath.
Choosing Proper Jack Points
When you lift your vehicle for brake repair, choosing the proper jack points is essential to guarantee safety and prevent damage. Locate the manufacturer-recommended jack points, usually found in your owner’s manual or marked along the frame near the wheels.
Avoid placing the jack on suspension components or the body panels, as this can cause damage or misalignment. Using correct jack points helps maintain wheel alignment, preventing costly adjustments later.
It also ensures your vehicle remains stable during the process, especially if you plan on combining brake work with tire rotation. Taking the time to position your jack properly not only protects your car but also makes your brake repair more efficient and safer overall.
Always double-check the jack’s stability before lifting your vehicle.
Using Jack Stands Safely
Although lifting your vehicle with a jack is necessary, relying solely on it can be dangerous. Always support your car with jack stands after lifting it. Position the stands under the proper jack points you identified earlier to guarantee stability.
Before you start, check your tire pressure to avoid any unexpected shifts, as uneven pressure can affect balance. Also, make sure your engine oil is at the right level. This won’t directly impact the lift but ensures your vehicle runs smoothly once lowered.
Never work under a car supported only by a jack. Jack stands provide a secure hold, preventing accidents. After placing the stands, gently lower the vehicle onto them, confirming they’re firmly in place before you begin brake repair. Safety comes first.
Removing Brake Pads and Inspecting Rotors
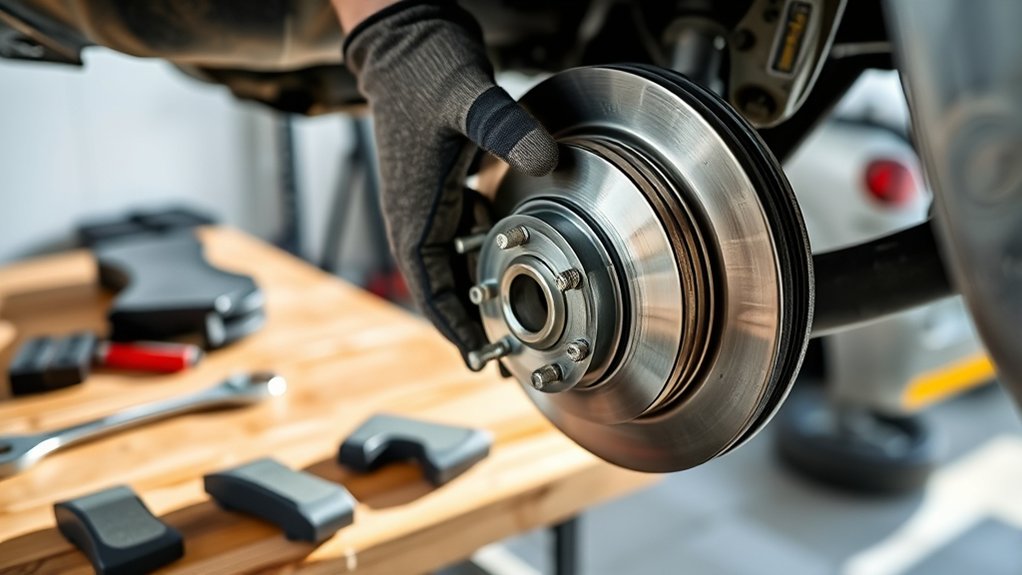
Since your brake system’s performance relies heavily on the condition of the pads and rotors, you’ll need to carefully remove the brake pads to inspect the rotors for wear or damage. Start by loosening the caliper bolts and gently lift the caliper off the rotor, making sure not to strain the brake hose.
Carefully remove brake pads by loosening caliper bolts and lifting the caliper without straining the brake hose.
Slide out the brake pads, noting their brake pad materials, whether organic, semi-metallic, or ceramic, since each type wears differently.
Next, examine the rotor surface finish closely. Look for grooves, scoring, or uneven wear, which can indicate rotor damage or the need for resurfacing. Also, check for rust buildup or warping, as these affect braking efficiency.
If the rotor surface is smooth with consistent thickness, you’re good. But if you spot deep grooves or discoloration, it’s time to think about rotor maintenance. By carefully removing the pads and inspecting the rotors, you ensure your braking system stays reliable and safe.
How to Replace Brake Pads Yourself When Needed
Before you start replacing brake pads yourself, make sure you have the right tools and a safe workspace. Begin by removing the caliper bolts and carefully lifting the caliper off the rotor. Avoid letting the caliper hang by the brake line.
Next, slide out the worn brake pads. Pay attention to the brake pad material; different materials affect braking performance and noise. Inspect the brake pad wear indicators. These small metal tabs signal when pads need replacement by creating a squealing sound during braking.
Install the new brake pads, ensuring they match the original brake pad material for consistent performance. Compress the caliper piston using a C-clamp or brake tool to make room for the new pads. Reinstall the caliper and tighten the bolts securely.
Finally, pump the brake pedal a few times to seat the pads properly before driving. Replacing brake pads yourself saves money and guarantees your brakes perform safely.
How to Resurface or Replace Worn Brake Rotors
When you notice vibrations or reduced braking efficiency, it’s time to resurface or replace your worn brake rotors. First, inspect the rotor surface finish for deep grooves, scoring, or uneven wear. Minor imperfections can often be corrected by resurfacing, which smooths the rotor surface and restores proper contact with brake pads. However, if the rotor is too thin, warped, or cracked, replacement is necessary.
Keep in mind that brake rotor material affects your choice. Cast iron rotors are common and can be resurfaced multiple times, while composite or coated rotors might require replacement to maintain optimal performance. Always measure rotor thickness with a micrometer and compare it to manufacturer specifications before deciding.
Resurfacing requires a lathe or specialized tool to ensure a uniform rotor surface finish. If you lack the equipment, it’s safer to replace worn rotors. Properly maintained rotors ensure effective braking and prolong pad life, so don’t delay this crucial step in your brake repair.
How to Check and Bleed Your Brake Fluid
Now that you’ve taken care of the rotors, it’s a good idea to check your brake fluid level next. Make sure it’s within the recommended range. If the fluid looks dirty or if the level is low, you’ll want to bleed the brakes properly. This helps get rid of any air bubbles and brings back your braking performance. Just be sure to follow the correct bleeding technique to keep your brake system safe and working well.
Inspect Brake Fluid Level
How do you know if your brake fluid needs attention? Start by inspecting the brake fluid level in the reservoir. Low fluid can signal leaks or worn brake pads. Also, check the brake fluid color. Fresh fluid is usually clear or light amber, while dark or cloudy fluid indicates brake fluid contamination.
To inspect effectively, locate the brake fluid reservoir under the hood. Wipe the reservoir cap clean before opening. Check the fluid level against the “MIN” and “MAX” marks. Observe the fluid color for signs of contamination. Avoid opening the reservoir for long to prevent moisture entry.
Regularly inspecting brake fluid helps ensure your brakes work reliably and safely. If you spot contamination or low levels, plan to address it promptly.
Proper Bleeding Technique
After checking your brake fluid level and condition, you’ll want to make certain no air remains trapped in the system, as it can affect braking performance. Start by locating the bleeder valves on each brake caliper or wheel cylinder.
Connect a clear tube to the valve and submerge the other end in a container with fresh brake fluid. Have a helper press the brake pedal slowly while you open the bleeder valve to release air bubbles and old fluid.
Close the valve before the pedal is released to prevent air from re-entering. Repeat this process for all wheels, starting from the farthest from the master cylinder.
Fixing Squeaky Brakes Without Replacement
Although squeaky brakes can be annoying, you don’t always have to replace the pads to fix the noise. Often, the squeaky noise comes from the brake pad material interacting with dust, moisture, or uneven wear.
Squeaky brakes aren’t always a sign to replace pads; often, dust, moisture, or wear cause the noise.
To address this without replacement, start by cleaning the brake components thoroughly. Removing built-up grime can eliminate the noise. Next, check the brake pad material for glazing, which is a shiny, hardened surface that causes squeaks. Lightly sanding the pads can restore proper friction.
Here are key steps to fix squeaky brakes without replacing the pads:
- Clean brake rotors and pads with brake cleaner
- Inspect and remove glazing by sanding the pad surface
- Lubricate contact points with high-temperature brake grease
- Ensure brake hardware is tight and properly aligned
- Check for debris caught between pads and rotors
How to Test Your Brake Pedal and Make Adjustments
When you press your brake pedal, it should feel firm and responsive. Anything less could signal a problem. Start by performing pedal travel testing: slowly press the pedal and note the distance it moves before you feel resistance.
Excessive travel often means you need a brake pedal adjustment. To adjust, locate the brake pedal pushrod under the dash and turn the adjusting nut to reduce free play.
Here’s a quick guide to pedal testing and adjustment:
| Test Aspect | What to Check |
|---|---|
| Pedal Travel | Should be 1-2 inches before resistance |
| Pedal Feel | Firm, not spongy or soft |
| Adjustment Needed? | If travel exceeds specs, adjust pushrod |
Consistently monitor pedal response after adjustment. Proper brake pedal adjustment ensures safe, effective braking and prevents further brake system wear.
Performing a Final Safety Check Before Driving
Once you’ve adjusted and tested your brake pedal to guarantee it feels firm and responsive, the next step is to perform a final safety check before driving. This step assures your repair is reliable and supports emergency preparedness on the road.
Review your brake system history to confirm any recurring issues are addressed. Then, inspect every component carefully.
Here’s your final checklist:
- Verify brake fluid levels are adequate and free of leaks
- Check brake lines and hoses for cracks or wear
- Ensure brake pads and rotors show no excessive damage
- Test the emergency brake for proper engagement
- Confirm all brake warning lights on the dashboard are off
Frequently Asked Questions
What Types of Brake Pads Are Best for Different Driving Conditions?
You’ll want ceramic brake pads for everyday driving because they handle heat well and produce less dust. If you drive in wet or off-road conditions, semi-metallic pads offer better grip and durability.
For high-performance or racing, choose organic brake pad materials that provide strong stopping power but wear faster. Always match your brake pad materials to road conditions to guarantee safety and maximize your brakes’ lifespan.
How Often Should I Replace Brake Fluid to Maintain Brake Performance?
You should replace your brake fluid every 2 years or 24,000 miles to maintain brake performance. Regular brake fluid testing helps you spot moisture contamination, which can reduce braking efficiency.
Ignoring fluid replacement intervals can lead to corrosion and brake failure. By sticking to these intervals and testing your fluid, you guarantee your brakes stay responsive and safe.
Don’t wait for warning signs. Stay proactive with your brake fluid maintenance.
Can Weather Conditions Affect the Lifespan of My Brake Components?
They say, “A stitch in time saves nine,” and that holds true for your brakes. Weather impacts your brake components considerably. Extreme heat can cause pads to wear faster, while moisture and road salt lead to brake corrosion.
If you don’t check for damage regularly, rust can weaken parts and reduce safety. So, keep an eye on your brakes, especially after harsh weather, to catch and fix issues before they worsen.
Are There Any Signs of Brake Issues That Require Professional Inspection?
Yes, if you hear brake noise like squealing or grinding, you should get your brakes checked professionally. Also, if the pedal feels soft or sinks to the floor, it’s a clear sign of a problem.
Don’t overlook these symptoms. They could mean worn brake pads, air in the brake lines, or fluid leaks. Getting a professional inspection ensures your safety and prevents costly damage down the road.
How Do Different Vehicle Models Affect the Brake Repair Process at Home?
Tackling brake repairs can be a bit of a “model challenge” because different vehicles have unique brake system diagnostics and require vehicle specific tools. You’ll notice some cars need specialized scanners or adapters, while others have simpler setups.
It’s smart to check your vehicle’s manual or forums before starting. Knowing these nuances helps you avoid surprises and makes your repair process smoother and safer.
Conclusion
By diagnosing issues early, gathering the right tools, and working safely, you can confidently tackle brake repairs at home. Removing old pads, inspecting rotors, and replacing parts when needed keeps your brakes reliable.
Checking fluid levels, fixing noises, and testing your brake pedal ensures smooth performance. Finally, performing a thorough safety check guarantees your vehicle is road-ready.
Stay attentive, stay prepared, and take control of your auto brake repairs with skill and care for the best results.