5 Essential Tips for Oil Change Repair
If you’ve ever tried to change your car’s oil, you know it can feel a bit overwhelming. You’re not alone—many people struggle with getting the right supplies and following the steps correctly. Whether you’re a beginner or just want to improve your technique, mastering oil change repair can save you time and keep your engine running smoothly.
To do an oil change repair right, first gather the correct oil and tools, checking your owner’s manual for specs. Safely prepare your car by parking on level ground, using a jack stand, and cooling the engine.
Drain the old oil fully and replace the filter with a lightly oiled gasket. Add the right oil amount slowly, then check for leaks and reset the oil change light. Keep following these tips to master the process and protect your engine.
Key Takeaways
- Always use the correct oil grade and quantity as specified in the owner’s manual to ensure optimal engine performance.
- Safely lift and secure the vehicle on a flat surface using jack stands before starting the oil change.
- Thoroughly drain old oil and replace the oil filter. Apply fresh oil to the new filter’s gasket for a proper seal.
- Add new oil slowly with a funnel, checking levels frequently with the dipstick to avoid overfilling.
- After refilling, run the engine briefly to check for leaks and reset the oil change light per the vehicle manual.
Gather Tools and the Right Oil for Your Car

Before you begin the oil change, make sure you have the right tools and oil for your car. Start by checking your owner’s manual to identify the specific oil grade and quantity your engine requires. Having the correct oil ensures optimal performance and prevents damage.
Next, gather essential oil filter tools, such as a filter wrench, to make removing and installing the oil filter easier and cleaner. Using the proper tools prevents stripping or damaging the filter housing.
Don’t forget to prepare for oil disposal properly. Used oil is hazardous and must be recycled at designated collection centers or auto shops. Keep a sturdy container handy to catch the draining oil, and never pour it down drains or onto the ground.
Get Your Car Ready Safely for an Oil Change
Once you’ve gathered the right tools and oil, focus on preparing your car safely for the oil change. Prioritizing vehicle safety guarantees a smooth, worry-free process that respects your maintenance schedule.
Start by parking on a flat, stable surface and engaging the parking brake. Next, allow the engine to cool to avoid burns from hot oil or engine parts. Use wheel chocks to prevent the car from rolling unexpectedly.
Lift the car with a reliable jack and secure it with jack stands. Never work under a vehicle supported only by a jack. Finally, wear gloves to protect your hands from oil and grime.
- Park on a level surface and set the parking brake
- Let the engine cool completely
- Use wheel chocks for added security
- Lift and support the car safely with jack stands
- Wear gloves to protect your hands
Following these steps respects your vehicle’s safety and keeps your maintenance schedule on track.
Drain Old Oil and Replace the Oil Filter
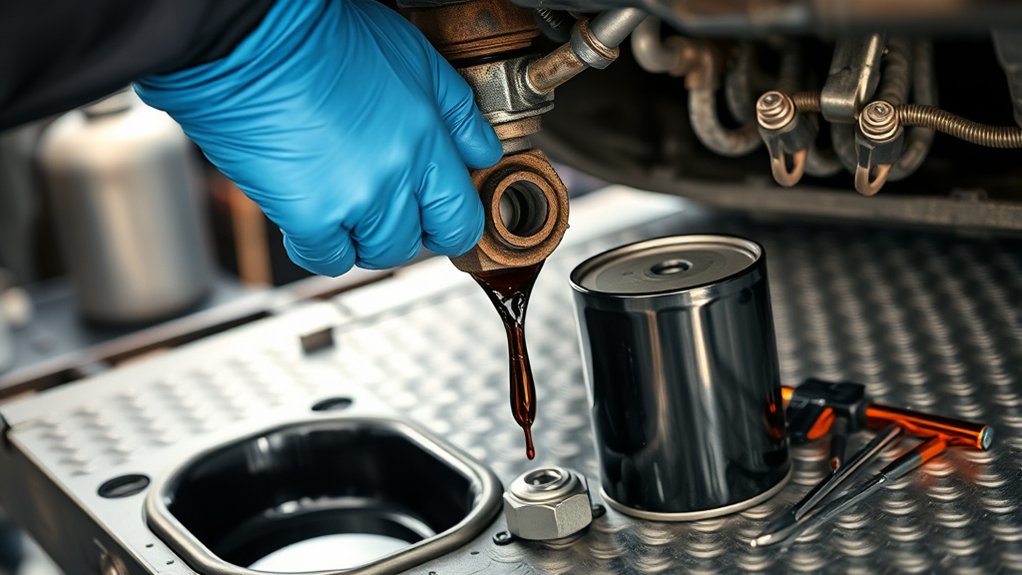
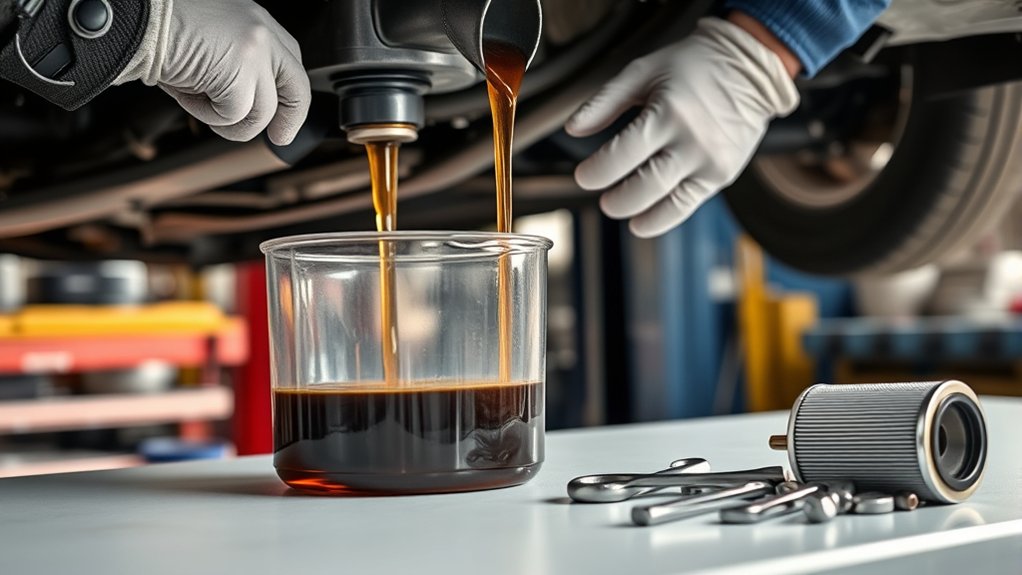
As you begin draining the old oil, make sure the engine is cool to prevent burns. Then position a container beneath the oil drain plug to catch the used oil. Remove the drain plug carefully and let all the oil flow out. Once drained, replace the drain plug securely.
Next, locate the oil filter and choose the correct type for your vehicle. Options include cartridge, spin-on, and magnetic filters. Use an oil filter wrench to remove the old filter, being cautious of leftover oil inside.
Before installing the new filter, apply a small amount of fresh oil to the rubber gasket to ensure a proper seal. Screw on the new filter by hand until snug.
Finally, dispose of the old oil and filter responsibly. Many auto shops and recycling centers accept used oil and filters. Proper disposal helps protect the environment and comply with local regulations, so don’t simply toss them in the trash.
Add the Right Oil Type and Amount
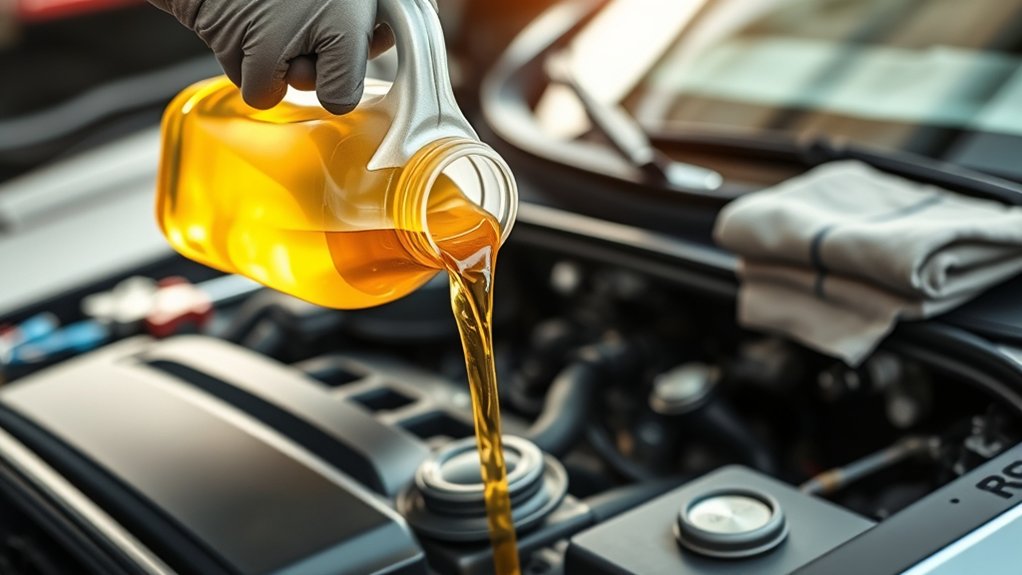
Choosing and adding the right oil type and amount is essential to keep your engine running smoothly. You need to check your vehicle’s manual for oil compatibility to prevent engine damage. Using the wrong oil or too much can cause leaks or poor performance.
Follow these tips to make sure you get it right:
- Use the exact oil grade recommended by your manufacturer
- Pour slowly to avoid overfilling
- Measure the oil amount carefully with a funnel and dipstick
- Store used oil safely until proper oil disposal
- Avoid mixing different oil types to maintain engine health
Don’t rush this step. It’s worth taking your time to protect your engine. After adding oil, double-check the level before closing the cap. Proper oil compatibility and precise amounts ensure your engine stays lubricated and efficient.
Finally, handle old oil responsibly. Improper oil disposal harms the environment and can be illegal.
Check for Leaks and Reset the Oil Change Light
After adding the right oil and confirming the proper level, you need to check for any leaks around the oil filter, drain plug, and oil pan. Leak detection is crucial because even a small drip can cause engine damage or oil loss over time. Run the engine briefly and inspect these areas closely.
Check around the oil filter, drain plug, and pan for leaks after adding oil to prevent engine damage.
If you spot any oil escaping, tighten the drain plug or filter, or replace faulty parts immediately.
Once you’re confident there’s no leakage, it’s time for light resetting. Your vehicle’s oil change light serves as an important reminder, so reset it to keep your maintenance schedule accurate.
The reset process varies by make and model but usually involves turning the ignition on and off or pressing a button on the dashboard. Check your owner’s manual for the exact steps.
Proper leak detection and light resetting ensure your oil change is complete and your engine stays protected.
Frequently Asked Questions
How Often Should I Schedule Regular Oil Changes?
You should schedule regular oil changes every 3,000 to 5,000 miles, depending on your vehicle and oil type. Always replace the oil filter during each oil change to keep your engine clean.
Pay attention to the oil viscosity recommended in your owner’s manual, as the right thickness helps protect your engine under different temperatures. Sticking to this schedule guarantees your engine runs smoothly and lasts longer without costly repairs.
What Are the Signs of Engine Oil Problems?
You might think engine oil problems won’t affect you, but ignoring signs can cause costly damage. Watch for dark, gritty oil or a burning smell, as these hint at oil contamination.
If the engine feels rough or noisy, your oil viscosity might be off. This means it’s too thick or thin to protect properly.
Don’t wait. Spotting these signs early helps you avoid breakdowns and keeps your engine running smoothly.
Can Using Synthetic Oil Improve Engine Performance?
Yes, using synthetic oil can improve your engine performance. Synthetic viscosity stays more consistent across temperature changes, which means your engine gets better lubrication whether it’s hot or cold.
This reduces wear and tear, helping your engine run smoother and more efficiently. Plus, synthetic oil generally has a longer oil lifespan, so you don’t have to change it as often, saving you time and protecting your engine better over the long haul.
How Do Oil Changes Affect Fuel Efficiency?
Regular oil changes help maintain the right oil viscosity, which reduces engine friction and improves fuel efficiency. When you keep your engine lubricated properly, it runs smoother and uses less fuel.
Plus, consistent oil changes contribute to engine longevity by preventing wear and tear. If you skip oil changes or use the wrong viscosity, your engine works harder, wasting fuel and shortening its life.
Is It Safe to Drive Immediately After an Oil Change?
Driving immediately after an oil change is as safe as stepping onto a freshly cleaned floor. Once the oil filter is properly installed and the right oil viscosity is used, your engine’s protected and ready to go.
Just make sure the oil level is correct and the cap is secure. This guarantees smooth lubrication from the start, preventing damage and keeping your engine running efficiently without delay.
Conclusion
Just like a well-tuned orchestra relies on each instrument, your car depends on regular oil changes to perform smoothly. Skipping this simple maintenance can reduce engine life by up to 30%.
By gathering the right tools, safely draining old oil, and adding the correct type, you’re giving your car the care it deserves. Remember, a little attention now prevents costly repairs later.
Keep your engine singing its best tune for miles to come by following these essential tips for oil change repair.