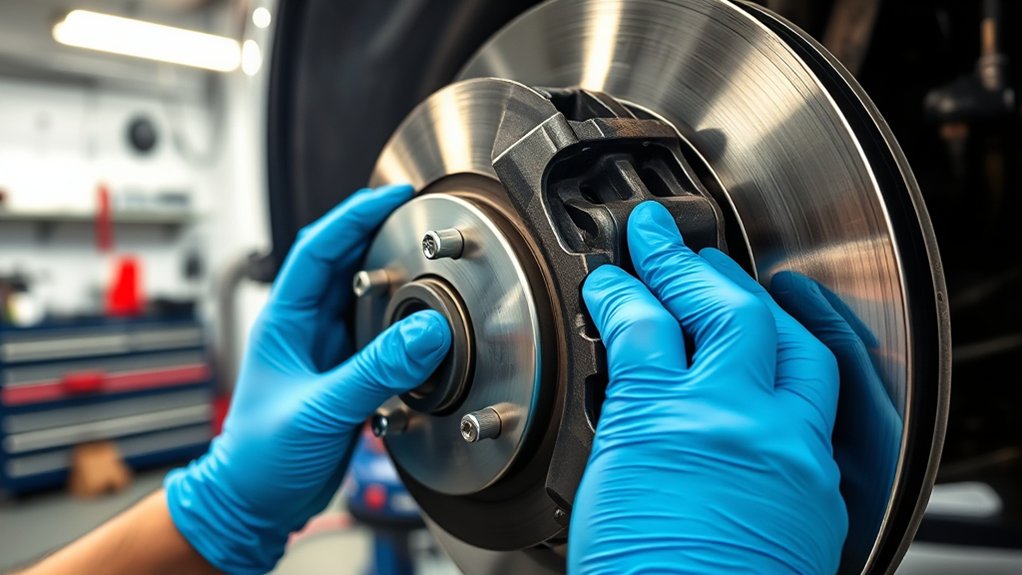
How to Perform Step-by-Step Automobile Brake Repair
If you’ve ever experienced brake issues, you know how stressful and unsafe it can be. Many people struggle with knowing when and how to fix their brakes properly. You’re not alone—finding reliable guidance on automobile brake repair can make all the difference in feeling confident behind the wheel.
To perform step-by-step brake repair, first spot early signs like squealing or a soft pedal. Safely lift your car with a jack and secure it on stands, then remove the wheel to inspect pads, rotors, and calipers.
Replace worn brake pads or rotors carefully, compressing pistons and reassembling components properly. Finally, check and bleed brake fluid to remove air for firm pedal feel.
Keep following to master all the essential details for safe, effective brake maintenance.
Key Takeaways
- Inspect brake pads, rotors, and fluid levels to catch early signs of wear or damage before you start repairs. This helps avoid surprises later on.
- Safely lift and support the vehicle using a jack and jack stands. Then, remove the wheels so you can access the brake components easily.
- Replace worn brake pads by compressing the caliper piston. Take out the old pads and install the new ones properly to ensure everything fits right.
- Remove and replace damaged rotors by unbolting the calipers first. Clean the hub, then fit the new rotors securely to keep things running smoothly.
- Bleed the brake system by releasing air from the lines using a bleeder valve. Make sure fluid levels are correct and the brake pedal feels firm before finishing up.
How to Spot Common Brake Problems Early
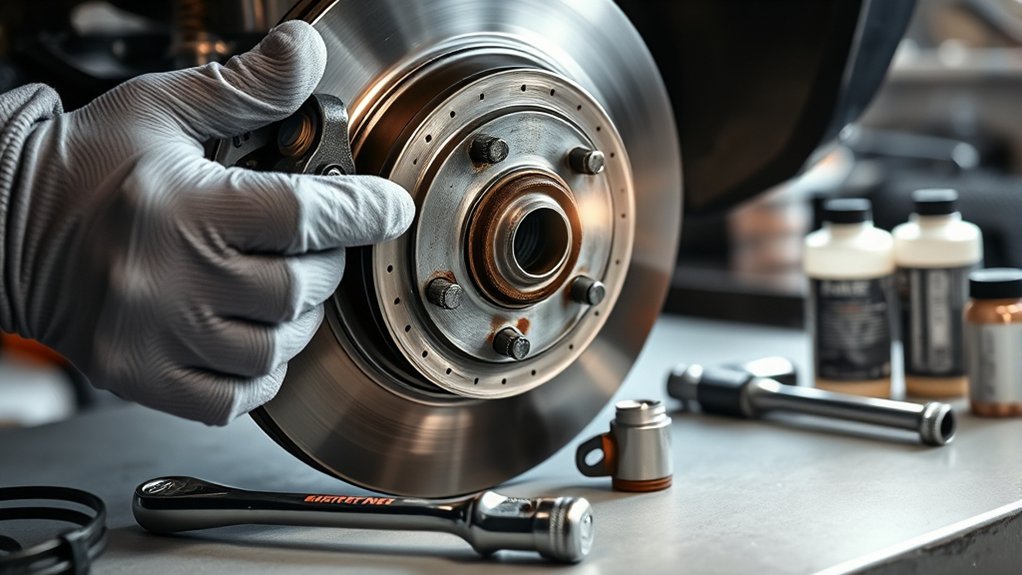
How can you tell when your brakes need attention before they become a serious problem? One of the first signs is unusual brake noise, such as squealing or grinding. This often indicates worn brake pads or issues with the rotors. Don’t ignore these sounds, as they signal that your braking system needs inspection.
Another key indicator is the brake fluid level. Low brake fluid can reduce braking efficiency and may point to leaks or worn components within the system. You should check the brake fluid reservoir regularly and maintain the recommended level to ensure proper brake function.
Furthermore, if you notice your brake pedal feels soft or spongy when pressed, it might mean air has entered the brake lines or there’s a brake fluid problem. Staying alert to these early symptoms helps you address brake issues promptly, keeping your vehicle safe and preventing costly repairs down the road.
Overview of the Brake Repair Process

Before you start repairing your brakes, it’s important to figure out exactly what’s causing the problem. Once you know that, make sure you have all the essential tools ready so you can work smoothly. And don’t forget—always follow safety precautions to keep yourself protected throughout the whole process.
Identifying Brake Issues
Although brake problems can sometimes seem subtle, you’ll want to catch them early to guarantee your safety on the road. Start by checking for signs like unusual noises, vibrations, or a soft brake pedal. These could indicate low brake fluid or ABS system malfunctions.
Pay close attention to warning lights on your dashboard, as they often signal issues with the ABS system.
Here’s a quick guide to help you identify common brake problems:
| Symptom | Possible Cause | What to Check |
|---|---|---|
| Squealing noise | Worn brake pads | Brake pad thickness |
| Soft brake pedal | Low brake fluid | Brake fluid reservoir |
| ABS warning light | ABS system fault | ABS sensors and fuses |
Identifying these early helps prevent costly repairs and keeps you safe.
Essential Tools Needed
Since brake repair involves several detailed steps, having the right tools on hand makes the process smoother and safer. You’ll need a jack and jack stands to lift and secure your vehicle. A lug wrench is essential for removing the wheels.
To work on brake calipers, a C-clamp or a brake caliper tool helps compress the piston for new pads. Don’t forget a brake bleeder kit for flushing old brake fluid and replacing it with fresh fluid.
A socket set, brake cleaner, and a wire brush will assist in cleaning and loosening components. Finally, keep a container handy to catch any brake fluid spills.
Gathering these tools before starting will guarantee you can tackle the brake repair efficiently and avoid unnecessary interruptions.
Safety Precautions Overview
Having the right tools ready sets a solid foundation for a smooth brake repair process. Before starting, always confirm the vehicle is securely lifted and supported with jack stands. Engage the parking brake to prevent any movement, but remember to release it when working on certain components to avoid damage.
Wear gloves and safety glasses to protect against harmful brake fluid, which can irritate your skin and eyes. Avoid inhaling brake dust by using a mask or dampening the area before cleaning.
Never reuse brake fluid; always drain and replace it properly to maintain braking performance. Double-check for leaks and test the brakes carefully before driving.
Following these safety precautions keeps you protected and ensures your brake repair goes smoothly without surprises.
What Tools You Need for Brake Repair

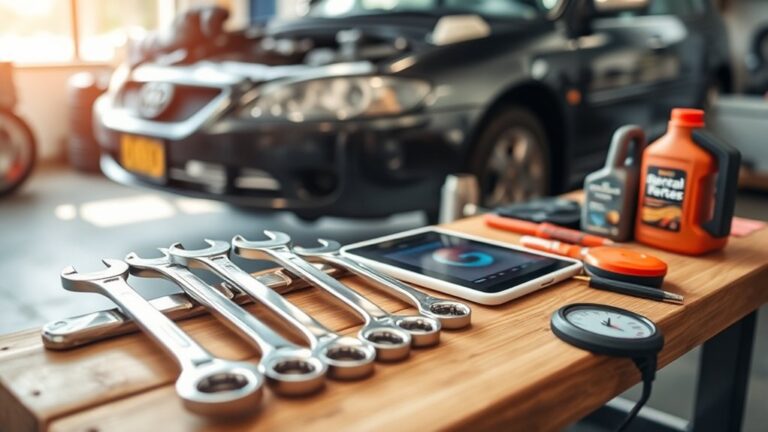
Before you start working on your brakes, you’ll want to make sure you have the right tools to get the job done safely and effectively. This means having essential brake repair tools like wrenches, a brake caliper tool, and a jack.
And don’t forget safety gear! Gloves and eye protection are a must. So, let’s take a look at what you’ll need to have on hand before you dive in.
Essential Brake Repair Tools
Although brake repair can be challenging, using the right tools makes the job much easier and safer. You’ll need specific tools to handle brake fluid and manage brake calipers effectively. Here are the essential tools you should have:
- Brake Bleeder Kit for flushing and replacing brake fluid without introducing air into the system.
- C-Clamp or Caliper Piston Tool to compress brake calipers when installing new pads.
- Socket Set and Wrenches for removing and reinstalling caliper bolts and other components.
- Brake Cleaner Spray to remove grease, brake dust, and contaminants from brake parts.
Having these tools ready ensures you can service your brakes efficiently and maintain peak performance.
Safety Equipment Checklist
Since brake repair involves handling heavy parts and hazardous fluids, you need proper safety equipment to protect yourself from injury. Start with protective gear like safety goggles to shield your eyes from brake dust and fluid splashes. Wear sturdy gloves to protect your hands from sharp edges and chemicals. Use a dust mask or respirator to avoid inhaling harmful brake dust. Long sleeves and pants also help protect your skin.
For emergency preparedness, keep a first aid kit nearby in case of cuts or burns. Have a fire extinguisher on hand, especially since brake fluids are flammable. Verify your workspace is well-ventilated and well-lit to reduce risks.
How to Safely Lift and Secure Your Vehicle
When you’re ready to lift your vehicle, make sure you’re working on a flat, stable surface to prevent any accidents. Prioritizing parking safety ensures your vehicle won’t roll or shift while you work. Follow these steps to safely lift and secure your vehicle:
- Engage the parking brake firmly to maintain vehicle stability.
- Place wheel chocks on the tires opposite the side you’ll lift to prevent movement.
- Position the jack under the manufacturer’s recommended lifting points for safe support.
- After lifting, secure the vehicle with sturdy jack stands placed beneath solid frame sections.
Never rely solely on the jack to hold your vehicle. Jack stands are essential for safety. Double-check that the vehicle is stable before crawling underneath or starting brake repairs. By following these precautions, you minimize risks and create a safe workspace for your brake repair project.
How to Remove the Wheel and Inspect Brake Components
Now that your vehicle is secure, it’s time to remove the wheel. Make sure to use the proper techniques so you don’t cause any damage. Once you’ve taken the wheel off, take a close look at the brake components. Check for any signs of wear, cracks, or leaks. This step is really important to make sure your brakes are in good shape before you move on.
Wheel Removal Techniques
Before you can inspect or repair your brakes, you need to safely remove the wheel. This step is essential, whether you’re planning a tire rotation or a brake fluid flush. Follow these steps to remove the wheel efficiently:
- Loosen the lug nuts slightly while the car is still on the ground to prevent the wheel from spinning.
- Use a jack to lift the vehicle off the ground, then secure it with jack stands for safety.
- Fully remove the loosened lug nuts and carefully take the wheel off.
- Place the wheel aside and ensure the brake components are accessible for inspection or maintenance.
Brake Component Inspection
Although removing the wheel gives you access to the brake system, inspecting each component carefully *guarantees* you catch any wear or damage early. Start by checking the brake calipers for leaks, corrosion, or cracks. They should move smoothly without sticking.
Next, inspect the brake pads for thickness. If they’re too thin, replacement is necessary. Look at the rotors for grooves or warping that could affect braking performance.
Don’t forget to examine the brake fluid level and condition. Low or dirty fluid can reduce braking efficiency and damage components. Finally, check all connections and hoses for leaks or wear.
Performing a thorough brake component inspection *ensures* your vehicle stops safely and helps you address issues before they escalate.
How to Diagnose Worn Brake Pads and Rotors by Inspection
When you suspect your brakes aren’t performing well, inspecting the brake pads and rotors can reveal early signs of wear. Different brake pad materials wear differently, so understanding if your pads are organic, semi-metallic, or ceramic helps you know what to expect. Rotor design considerations, like vented or solid rotors, also affect wear patterns.
Follow these steps to diagnose wear:
- Remove the wheel to access brake components safely.
- Check brake pads for thickness; less than 3mm means replacement is due.
- Inspect rotors for grooves, cracks, or warping, especially near vented areas.
- Look for uneven pad wear, which can indicate caliper issues or rotor problems.
How to Replace Brake Pads
Replacing brake pads involves a few straightforward steps that you can handle with basic tools and some patience. First, loosen the lug nuts and lift the vehicle with a jack. Remove the wheel to expose the brake caliper.
Start by loosening the lug nuts, lifting the vehicle, and removing the wheel to access the brake caliper.
Next, unbolt the caliper carefully; don’t let it hang by the brake hose, as this can damage the brake fluid lines. Use a C-clamp or brake piston tool to compress the caliper piston back into its housing, creating space for the new pads.
Remove the worn brake pads and replace them with new ones, ensuring they sit properly in the caliper bracket. Reinstall the caliper and wheel, then lower the vehicle.
After replacing the pads, pump the brake pedal a few times to restore brake fluid pressure. Also, prevent brake squeal by checking for proper pad seating and hardware. This process restores your braking efficiency and helps avoid costly repairs down the road.
How to Replace Brake Rotors Properly
Since brake rotors work closely with brake pads to stop your vehicle, you’ll want to replace them carefully to maintain ideal braking performance. Start by safely lifting your car and removing the wheel to access the brake assembly.
- Remove the brake calipers: Carefully unbolt them and hang them with a wire to avoid stressing the brake lines or brake fluid connections.
- Take off the old rotors: If they’re stuck, tap them gently with a rubber mallet to loosen.
- Clean the hub surface: Verify it’s free of rust and debris to let the new rotor sit flush.
- Install the new rotors and reattach brake calipers: Tighten all bolts to spec, then reinstall the wheel.
Replacing rotors properly prevents uneven wear and keeps your brake fluid system balanced. This ensures smooth braking and safety on the road.
How to Bleed Brake Lines and Check Brake Fluid
How do you guarantee your brakes respond effectively every time you press the pedal? Start by checking your brake fluid level and condition. Use the brake fluid type specified in your vehicle’s manual, commonly DOT 3, DOT 4, or DOT 5.1, to confirm compatibility and peak performance.
Next, focus on bleeding procedures to remove any trapped air in the brake lines. Air can cause spongy brakes and reduce stopping power. Begin at the brake farthest from the master cylinder, usually the passenger rear wheel. Attach a clear tube to the bleeder valve and submerge the other end in brake fluid.
Have an assistant press the brake pedal slowly. Open the valve to release fluid and air, then close it before the pedal returns. Repeat until no air bubbles appear. Perform this step on each wheel, moving closer to the master cylinder.
Regularly check and top off brake fluid during bleeding to avoid introducing more air. This process guarantees a firm brake pedal and reliable stopping.
How to Maintain Your Brakes
Ensuring your brake system works smoothly means more than just bleeding lines and topping off fluid. You need to maintain your brakes regularly to keep them in top shape and ensure your safety. Here’s how you can do it:
Maintaining your brakes regularly is essential for smooth performance and your safety on the road.
- Check Brake Fluid: Inspect the brake fluid level and quality frequently. Replace it if it looks dirty or hasn’t been changed in over two years to prevent moisture buildup that can damage components.
- Inspect Brake Calipers: Look for leaks, corrosion, or damage on your brake calipers. Clean and lubricate the caliper slides to ensure they move freely.
- Examine Brake Pads and Rotors: Measure pad thickness and check rotors for grooves or warping. Replace worn parts promptly.
- Test Brake Performance: Regularly test your brakes under safe conditions to detect any unusual noises, vibrations, or reduced stopping power.
Following these steps will help you maintain your brakes efficiently and avoid costly repairs.
Frequently Asked Questions
How Often Should Brake Fluid Be Completely Replaced?
You should completely replace your brake fluid every 2 years or about 30,000 miles to maintain ideal brake system maintenance. Brake fluid lifespan varies depending on driving conditions, but over time, it absorbs moisture, which reduces its effectiveness and can lead to brake failure.
Regularly flushing and replacing the fluid ensures your brakes stay responsive and safe. Don’t wait for warning signs. Stick to this schedule to protect your vehicle’s braking performance.
Can Brake Noise Indicate a Specific Type of Problem?
Brake noise causes are like a car’s way of waving a red flag at you. Yes, brake noise can indicate a specific type of problem. Squealing often points to worn brake pads, while grinding might mean your rotors are damaged.
To nail down the exact issue, you’ll want to perform a noise diagnosis, checking pads, rotors, and calipers. Don’t ignore these sounds; they’re your brakes’ SOS signals for attention.
What Are the Differences Between Ceramic and Metallic Brake Pads?
You’ll find that ceramic brake pads are quieter and produce less brake dust compared to metallic ones. Metallic brake pads, made from materials like steel and copper, offer better heat dissipation and durability but can be noisier.
Both types often include wear indicator technology to alert you when pads need replacement. Choosing between them depends on your driving needs: ceramic for quieter rides, metallic for heavy-duty performance.
How Do ABS Brakes Affect the Repair Process?
ABS brakes make the repair process more complex because you’ll need to perform ABS diagnostics to identify any system faults before starting. You can’t just replace the pads or rotors; you have to check the brake sensors carefully.
If a sensor’s faulty, you’ll need to do a brake sensor replacement to guarantee the ABS functions correctly. Skipping these steps can lead to safety issues or warning lights staying on.
Are There Any Environmental Concerns With Disposing of Old Brake Components?
Think of brake dust as tiny clouds of pollution drifting into the air if you’re careless. Yes, disposing of old brake components poses environmental concerns since brake dust contains harmful metals.
You should avoid tossing them in regular trash. Instead, consider recycling options, like metal scrap yards or auto parts recyclers, to keep those contaminants out of the ecosystem. Proper disposal helps protect the environment while you maintain your vehicle.
Conclusion
Repairing your brakes is like tuning a finely crafted instrument. Precision and care make all the difference. By spotting issues early, using the right tools, and following each step carefully, you’ll keep your vehicle safe and responsive.
Remember to lift your car securely and inspect components thoroughly. Maintain your brakes regularly to guarantee smooth stopping power. With practice, brake repair becomes straightforward and rewarding.
This gives you confidence on every drive and ensures your vehicle stays reliable. Mastering automobile brake repair is key to safe driving and peace of mind.