7 Essential Steps to Fix Your Muffler Repairs
If you’ve ever dealt with a noisy or malfunctioning muffler, you know how frustrating it can be. Many people struggle with identifying the root cause or figuring out how to fix it properly. You’re not alone—getting your muffler repairs right is key to a smooth and efficient exhaust system, and it’s easier than you might think with the right guidance.
To fix your Muffler Repairs, start by diagnosing issues through noise and leak detection. Gather essential tools and safety gear before safely removing the old muffler.
Inspect your replacement for a proper fit and condition, then install it securely, aligning pipes and tightening clamps. Test for leaks with soap water and listen closely.
Finally, maintain your muffler regularly to avoid future problems. With these steps, you’ll get your exhaust working smoothly and efficiently—discover detailed tips to master each part.
Key Takeaways
- Identify muffler problems by listening for loud noises and inspecting for rust, holes, or exhaust smells inside the vehicle.
- Gather necessary tools and safety gear like wrenches, jack stands, gloves, and eye protection before starting repairs.
- Remove the old muffler carefully by loosening rusted bolts and gently detaching it from the exhaust system.
- Inspect and install the new muffler, ensuring proper fit, secure clamps, and alignment with exhaust pipes.
- Test for leaks and unusual noises using soapy water and sound checks, tightening or resealing joints as needed.
How to Diagnose Common Muffler Problems
Before you jump into repairs, you need to identify what’s wrong with your muffler. Listen carefully for any unusual muffler noise, like loud roaring or rattling sounds, which often signal a problem. Muffler noise that’s louder than normal usually means there’s a hole or crack letting exhaust escape prematurely.
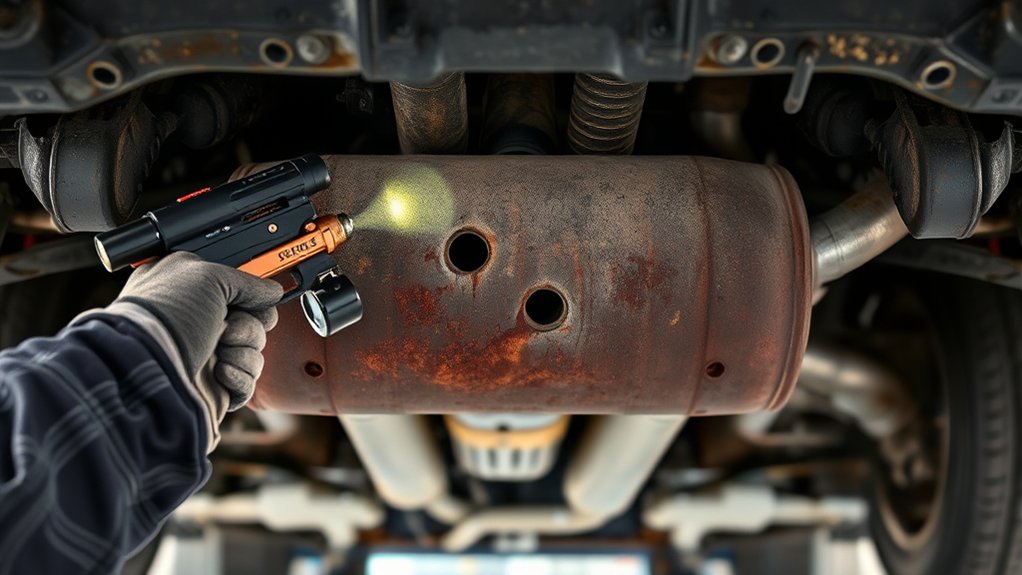
Next, inspect the muffler closely for rust damage. Rust can eat through the metal, creating weak spots or holes that worsen muffler noise and reduce performance. Check the underside of your vehicle, focusing on the muffler and exhaust pipes for visible rust patches or flaking metal.
You might also notice a strong exhaust smell inside your car, which indicates leaks caused by rust damage. If you spot any holes, cracks, or severe rust, you’ve pinpointed the issue. Identifying these signs early helps you decide whether a simple patch will do or if a full muffler replacement is necessary.
Tools You’ll Need for Muffler Repair
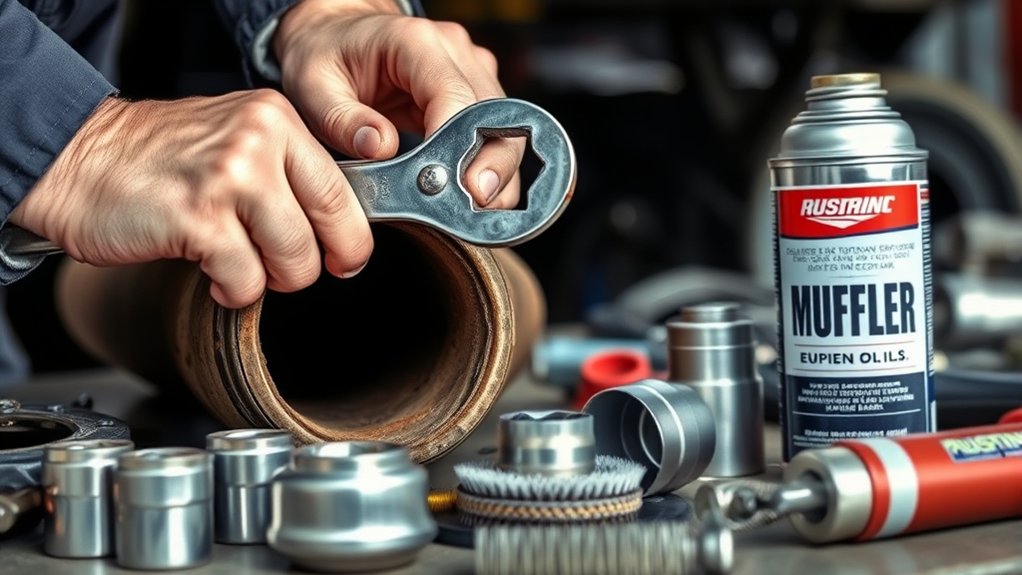
Before you start fixing your muffler, make sure you have the essential repair tools like wrenches, clamps, and replacement parts. Also, don’t forget safety gear—gloves and eye protection are a must to keep yourself safe. When you have the right tools and equipment ready, the whole repair process goes a lot smoother and safer.
Essential Repair Tools
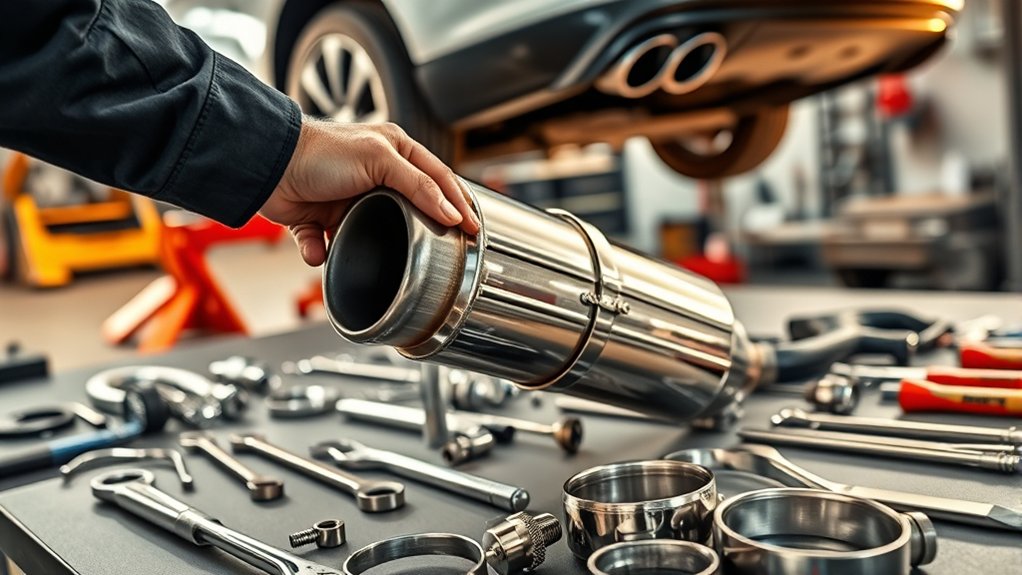
You’ll need a handful of essential tools to tackle muffler repairs effectively. Start with a good socket set and wrenches to loosen or tighten bolts holding the muffler in place. A hacksaw or reciprocating saw will help you cut through rusted or damaged sections.
To address muffler noise or leaks causing exhaust fumes, a wire brush is vital for cleaning corrosion before applying sealant or clamps. Don’t forget a jack and jack stands to safely lift and support your vehicle while you work underneath.
Finally, a flashlight or work light ensures you can see clearly in tight spaces. Having these tools ready will make fixing muffler issues smoother and help restore your vehicle’s performance quickly.
Safety Equipment Needed
Several key pieces of safety equipment are essential for protecting yourself during muffler repairs. First, always wear protective gloves to shield your hands from sharp edges, hot surfaces, and harmful chemicals. These gloves will help prevent cuts, burns, and skin irritation.
Next, safety goggles are a must to protect your eyes from flying debris, rust particles, and sparks when grinding or cutting. Additionally, consider using a dust mask if you’re working in a dusty environment to avoid inhaling harmful particles.
Proper footwear and long sleeves can also protect you from burns and scrapes. By equipping yourself with this safety gear, you’ll minimize injury risks and create a safer working environment while fixing your muffler. Don’t skip these precautions because they’re crucial for your safety.
How to Safely Remove the Old Muffler
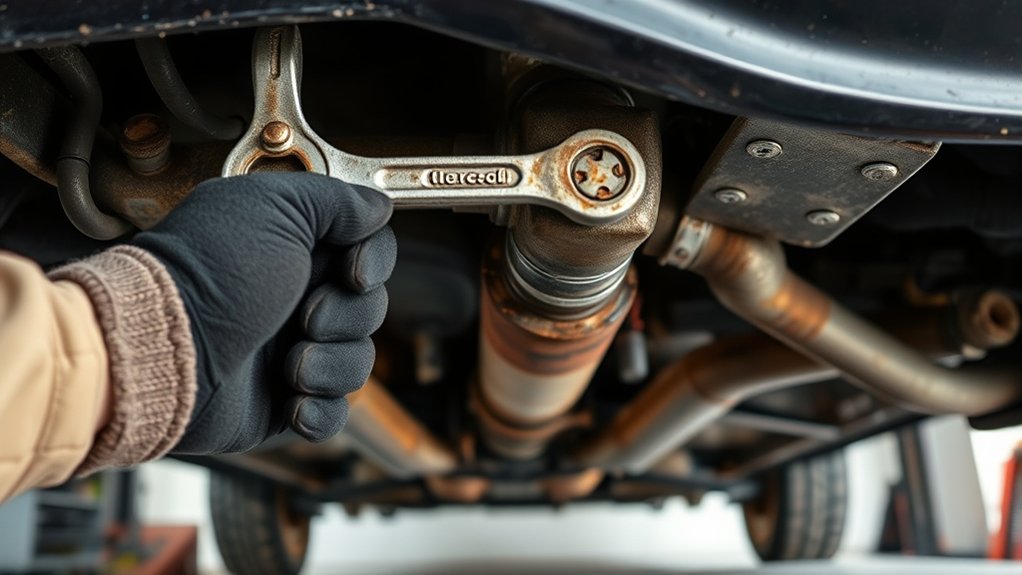
How do you safely remove an old muffler without damaging the surrounding parts? First, ensure the car is cool to avoid burns from hot components or exposure to exhaust fumes. Wear your safety gloves and goggles, and use a jack to lift the vehicle securely.
Locate the muffler and inspect its connections, usually clamps or bolts attaching it to the exhaust pipe. Spray penetrating oil on rusted bolts to loosen them. Use a wrench or socket set to carefully remove these fasteners, avoiding excessive force that could harm adjacent parts.
Locate the muffler connections, apply penetrating oil on rusted bolts, and carefully remove fasteners without damaging nearby parts.
If the muffler is stuck, gently wiggle it back and forth to break it free. Be cautious of muffler noise masking any unusual sounds that might indicate structural issues during removal.
Once detached, carefully lower the muffler and set it aside for disposal or recycling. Properly removing the muffler ensures you’re safe from exposure to harmful exhaust fumes and preps you for the next repair steps.
How to Inspect and Prepare Your Replacement Muffler
After removing the old muffler, turn your attention to the replacement to verify it fits and functions properly. Start by closely inspecting the new muffler for any visible damage, dents, or rust spots that could affect its performance. Check the inlet and outlet sizes to match your vehicle’s exhaust pipes.
Next, consider muffler aesthetics, especially if it’s visible from the rear. Choose a finish that complements your vehicle’s look.
It’s also wise to perform a brand comparison before finalizing your choice. Different brands offer varying durability, warranties, and sound profiles. Reading reviews and comparing specifications can help you pick a muffler that balances quality and cost.
Finally, make sure all necessary mounting hardware and clamps are included or sourced separately. Proper preparation now saves you from potential issues during installation and guarantees your replacement muffler delivers top-notch performance and appearance.
How to Install a New Muffler Correctly
To install your new muffler correctly, first pick one that fits your vehicle’s specifications. You want to make sure it matches perfectly to avoid any issues later on.
Once you’ve got the right muffler, go ahead and clean up the installation area. This step is important because a clean surface helps the muffler fit securely and stay in place.
Finally, attach the muffler firmly. Don’t rush this part—make sure everything is tight and secure. After that, give it a test run to make sure everything is working smoothly and there are no strange noises.
Choosing The Right Muffler
Why does choosing the right muffler matter when installing a new one? The right muffler ensures optimal noise reduction, durability, and performance. Muffler materials like stainless steel resist rust and last longer, while aluminized steel offers a budget-friendly option.
Picking the proper muffler also affects your vehicle’s sound level and exhaust flow. Consider these factors when selecting your muffler:
- Material quality: stainless steel vs. aluminized steel
- Noise reduction capability
- Compatibility with your vehicle model
- Exhaust flow design for better performance
- Warranty and brand reputation
Choosing wisely saves you time and money, giving you a quieter ride and a longer-lasting repair. Don’t overlook this crucial step before moving on to installation.
Preparing The Installation Area
Before installing your new muffler, you’ll need to thoroughly prepare the installation area to guarantee a secure fit and prevent future issues. Start by cleaning the installation location, removing rust, dirt, and old gasket material to ensure a smooth surface.
Check for any damage or corrosion that might affect the muffler material’s performance. If the area is compromised, repair or replace parts as needed before proceeding. Make sure the exhaust pipes align properly with the new muffler’s inlet and outlet to avoid stress on the joints.
Use a wire brush or sandpaper to create a clean, rust-free surface, improving the seal. Proper preparation at the installation location assures your muffler material functions effectively and lasts longer.
Securing And Testing Muffler
Once you have prepared the installation area, secure the new muffler firmly using the appropriate clamps or welding techniques. This guarantees the muffler sound is optimized and prevents vibrations that can reduce noise reduction effectiveness. After securing, test the installation carefully.
Follow these steps to check your work:
- Start the engine and listen for unusual noises.
- Check for exhaust leaks around clamps and joints.
- Verify the muffler is tightly attached without movement.
- Observe the muffler sound for smooth, consistent noise reduction.
- Take a short drive to confirm no rattling or excessive noise occurs.
How to Test Your Repair for Leaks and Noise
Although you’ve completed the muffler repair, you can’t be sure it’s effective until you test for leaks and noise. Start by running your engine and listening carefully for any unusual exhaust noise, which indicates poor seal or holes.
Next, perform leak detection by feeling around the repaired area for escaping air or using soapy water to spot bubbles.
Here’s a quick guide to test your repair:
| Step | What to Do | What to Look For |
|---|---|---|
| Visual Check | Inspect repair area | Cracks or gaps |
| Sound Test | Run engine, listen closely | Loud or irregular exhaust noise |
| Leak Detection | Spray soapy water on repair | Bubbles indicating leaks |
If you detect any leaks or persistent noise, tighten clamps or reseal joints. Testing guarantees your muffler repair works properly, keeping your exhaust system quiet and efficient.
How to Maintain Your Muffler and Prevent Future Issues
To keep your muffler running smoothly and avoid costly repairs, you need to perform regular maintenance and address small issues promptly. This helps preserve muffler aesthetics and guarantees that any aftermarket modifications don’t cause damage over time. Regular checks prevent rust, leaks, and noise problems before they escalate.
Here’s how you can maintain your muffler effectively:
- Inspect for rust or holes, especially after harsh weather.
- Clean the muffler exterior to preserve its appearance.
- Check mounting brackets and hangers for secure attachment.
- Avoid harsh aftermarket modifications that compromise muffler integrity.
- Schedule professional inspections during routine vehicle maintenance.
Frequently Asked Questions
How Long Does a Muffler Typically Last Before Needing Replacement?
A muffler lifespan typically ranges from 40,000 to 80,000 miles, depending on driving conditions and maintenance. You’ll want to keep an eye out for loud noises or rust, which signal replacement timing.
If you notice decreased fuel efficiency or unusual sounds, it’s time to act. Regular inspections help you catch issues early, ensuring your muffler lasts as long as possible before needing replacement.
Can a Damaged Muffler Affect My Car’s Fuel Efficiency?
Yes, a damaged muffler can reduce your car’s fuel efficiency by up to 15%. When your muffler fails, it disrupts emission control and compromises noise reduction, forcing your engine to work harder.
This inefficiency leads to increased fuel consumption and higher emissions. So, keeping your muffler in good shape not only cuts down noise but also helps your car run cleaner and save fuel.
Are Muffler Repairs Covered Under Standard Car Warranties?
Muffler repairs usually aren’t covered under standard car warranties because they’re considered wear-and-tear parts. However, if you have an extended warranty, you might get some coverage depending on your plan.
Be sure to check for coverage exclusions, as many warranties exclude parts like the muffler due to corrosion or regular use. Always review your warranty details carefully to understand what’s included before assuming muffler repairs are covered.
What Are the Environmental Impacts of a Faulty Muffler?
A faulty muffler is like a cracked dam, letting harmful gases escape unchecked. When yours isn’t working, emission control fails, spewing pollutants that dirty the air you breathe.
Plus, it cranks up noise pollution, turning peaceful streets into noisy chaos. You’ll not only harm the environment but also annoy your neighbors.
Fixing it helps keep the air clean and the noise down, protecting both nature and your community’s peace.
Can I Drive My Car Safely With a Broken Muffler?
You shouldn’t drive your car safely with a broken muffler for long. While it might still run, the noise reduction is compromised, making it excessively loud and potentially illegal.
Plus, harmful fumes can leak, posing health risks. If you must drive, treat it as an emergency repair situation and get it fixed promptly to avoid further damage and stay safe on the road.
Conclusion
By diagnosing issues early, gathering the right tools, and removing the old muffler carefully, you set yourself up for success. Inspecting the replacement thoroughly, installing it correctly, and testing for leaks and noise guarantee a job well done.
Finally, maintaining your Muffler Repairs regularly and preventing future problems keep your vehicle running smoothly. Follow these steps consistently, work confidently, and drive safely. Your muffler will thank you every mile you travel.