7 Essential Diagnostic Auto Repair Tools
If you’ve ever faced the frustration of a car that won’t start or runs poorly, you’re not alone. Many people struggle with diagnosing vehicle problems quickly and accurately. Having the right diagnostic tools can make all the difference, saving you time, money, and stress.
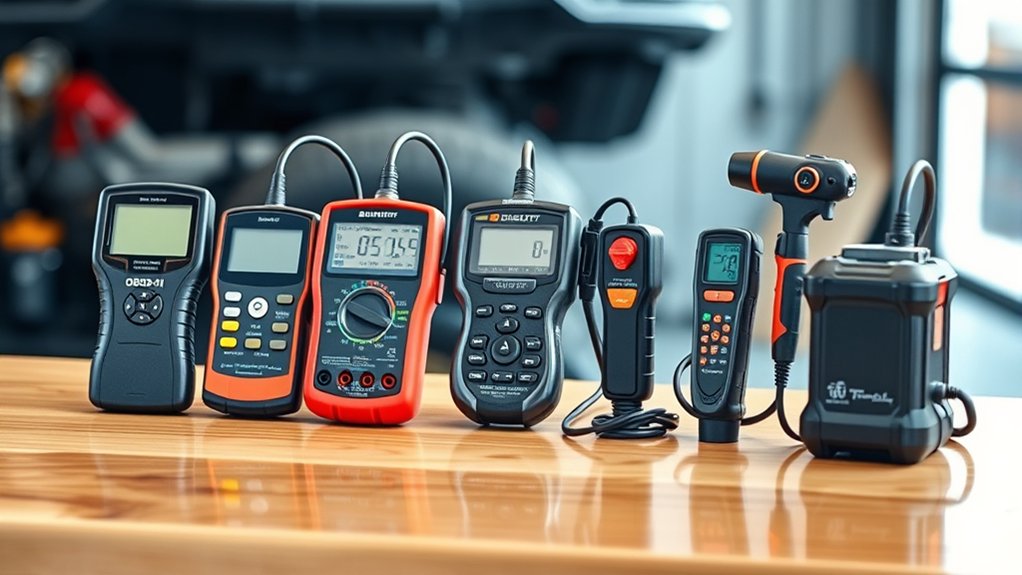
You need seven essential diagnostic auto repair tools to quickly find and fix car problems. Start with an OBD-II scanner to read trouble codes and spot faults early. Use a multimeter for electrical tests, a compression tester to check engine health, and a fuel pressure gauge for fuel system issues.
Advanced scan tools provide in-depth system data, while a smoke machine helps find hidden vacuum leaks. These tools keep your vehicle running smoothly and save you money. Keep exploring to reveal expert tips and step-by-step methods.
Key Takeaways
- OBD-II scanners retrieve and interpret trouble codes for quick vehicle issue identification.
- Multimeters test electrical circuits, battery voltage, and continuity to diagnose wiring and component faults.
- Compression testers assess engine cylinder health by measuring internal pressure consistency.
- Fuel pressure gauges detect fuel system problems by monitoring pressure stability and flow.
- Smoke machines locate vacuum leaks by introducing smoke to reveal escaping air through cracks or loose connections.
Why Diagnostic Auto Repair Tools Matter for Every Car Owner
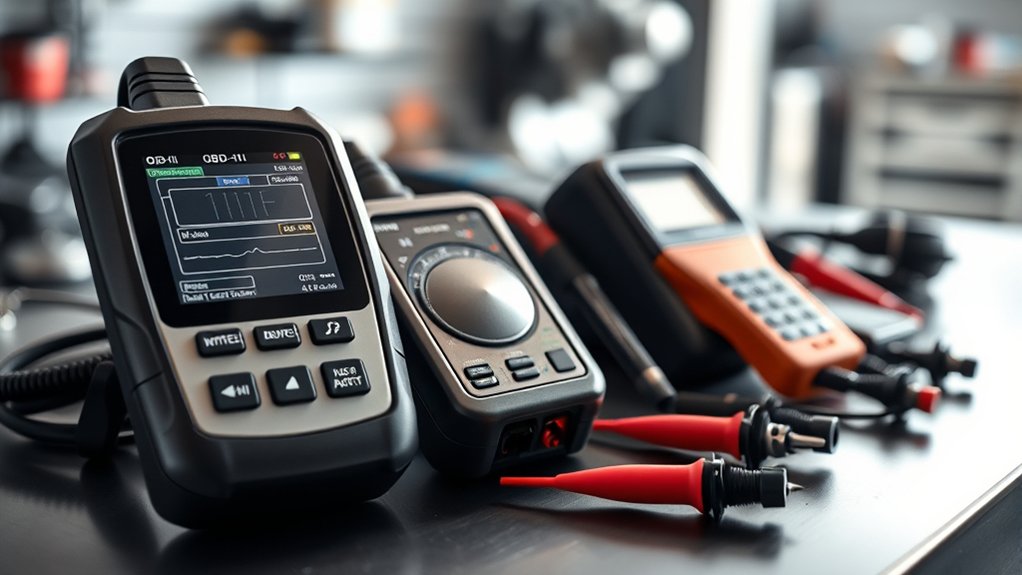
Although many car owners rely on mechanics for repairs, having diagnostic auto repair tools yourself can save time and money by identifying issues early. Understanding automotive history shows how cars evolved from simple machines to complex systems, making diagnostics essential. When you use these tools, you catch problems before they escalate, preventing costly repairs and breakdowns.
Integrating diagnostic tools into your routine aligns perfectly with smart car maintenance tips. You can regularly check your vehicle’s health, ensuring everything runs smoothly. This proactive approach helps maintain performance, fuel efficiency, and safety.
Plus, you gain more control over your car’s condition, avoiding surprises on the road. By embracing diagnostic tools, you not only follow a key lesson from automotive history but also empower yourself to keep your vehicle in top shape. So, investing a little time in diagnostics pays off big in reliability and peace of mind.
How to Use an OBD-II Scanner for Quick Car Diagnostics
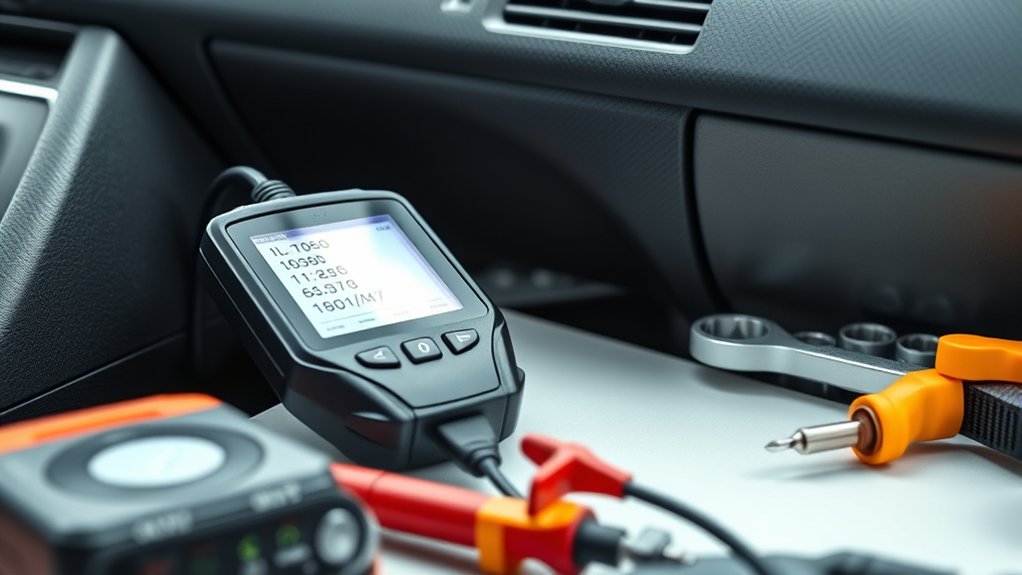
To start using an OBD-II scanner, just plug it into your car’s diagnostic port. You’ll usually find this port under the dashboard. Once it’s connected, you can quickly read any stored trouble codes. These codes will show you what might be wrong with your vehicle. From there, interpreting the scan results can help you figure out the next steps for repairs or maintenance. It’s pretty straightforward and a great way to get a quick look at your car’s health.
Connecting the OBD-II Scanner
Where do you start when using an OBD-II scanner for quick car diagnostics? First, locate the OBD-II port, usually under the dashboard near the steering column. Next, connect the scanner’s plug firmly into the port to guarantee proper communication with your vehicle’s computer.
Follow these steps:
- Turn the ignition to the “ON” position without starting the engine. This enables sensor calibration checks.
- Power on the scanner. It will perform initial battery testing to confirm there’s enough voltage for accurate diagnostics.
- Wait for the scanner to establish a connection with the car’s ECU. Once connected, you’re ready to retrieve data.
Reading Diagnostic Trouble Codes
Once your scanner connects to the car’s ECU, you can start reading the diagnostic trouble codes (DTCs) stored in the system. These codes pinpoint issues like engine overheating or problems within the brake system, giving you a clear starting point for repairs.
Simply navigate the scanner’s menu to retrieve the codes, which usually appear as a combination of letters and numbers. Don’t worry if you don’t recognize the codes immediately. That’s for interpreting later.
For now, focus on gathering all the stored codes to identify any system malfunctions. This quick step helps you spot urgent issues, like overheating that could cause engine damage or brake system faults affecting safety. Reading these codes saves time and guides your next moves efficiently.
Interpreting Scan Results
Although retrieving trouble codes is important, interpreting them correctly is what truly helps you diagnose your car’s issues quickly. When you connect your OBD-II scanner and run the diagnostic software, focus on understanding the data rather than just the codes.
Here’s how you can use scan results effectively for car maintenance:
1. Identify the code description
Read the exact meaning of each trouble code through the diagnostic software to pinpoint the problem area.
2. Check parameters and live data
Analyze real-time sensor readings to see if components like oxygen sensors or coolant temperature are operating within normal ranges.
3. Research common causes
Use manufacturer repair guides or online forums to connect codes with typical faults and effective fixes.
How to Use a Multimeter for Auto Electrical Testing
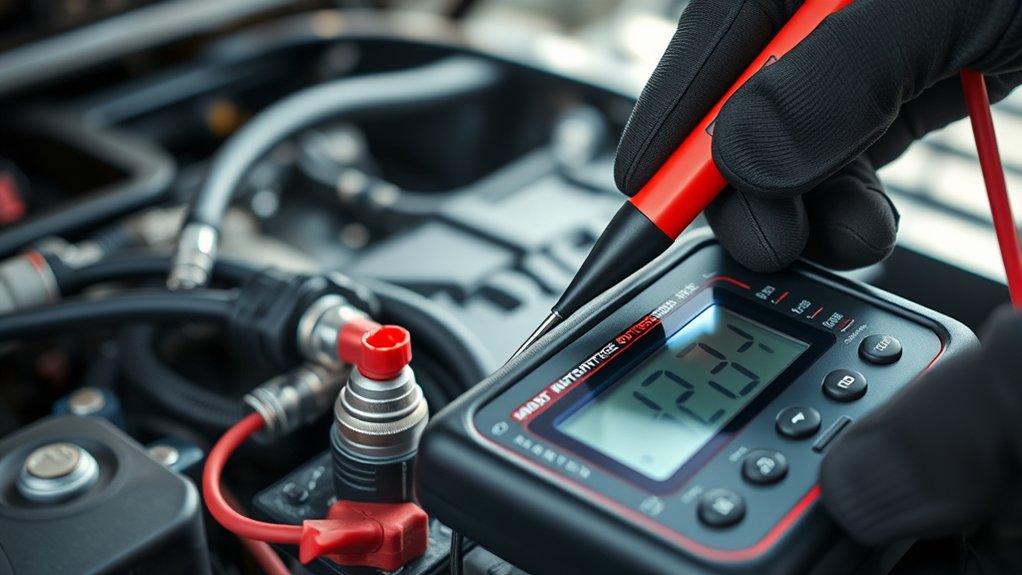
To get started with your multimeter, you’ll want to set it up just right for the specific test you have in mind. It’s pretty straightforward once you get the hang of it. You’ll learn how to measure voltage and current safely, which is super important to avoid any mishaps. Plus, you’ll find out how to check continuity and resistance in your vehicle’s electrical system.
These basic skills come in handy more often than you might think. With them, you can quickly and accurately diagnose a bunch of common electrical problems. So, whether you’re a beginner or just need a refresher, this will help you feel confident using your multimeter on your car.
Setting Up Your Multimeter
Before you start testing your vehicle’s electrical system, you’ll need to set up your multimeter correctly to get accurate readings. Proper setup guarantees reliable diagnostics, much like regular battery maintenance guarantees your car starts smoothly or checking tire tread keeps you safe on the road. Follow these steps:
- Turn the multimeter dial to the appropriate setting, usually DC voltage for automotive batteries.
- Connect the red probe to the positive terminal and the black probe to the negative terminal for testing.
- Calibrate your multimeter if necessary, following the manufacturer’s instructions.
Measuring Voltage And Current
How do you accurately measure voltage and current in your vehicle’s electrical system? Using a multimeter is essential for battery maintenance and alternator testing.
First, set your multimeter to the correct voltage range, usually DC volts for automotive systems. Connect the probes to the battery terminals, red to positive and black to negative, to check the battery voltage. A healthy battery should read around 12.6 volts when the engine is off.
For alternator testing, measure voltage at the battery with the engine running. It should be between 13.7 and 14.7 volts, which indicates proper charging.
To measure current, switch your multimeter to the appropriate current range and connect it in series with the circuit. Always follow safety precautions to avoid damaging your meter or vehicle components.
Testing Continuity And Resistance
Measuring voltage and current gives you a snapshot of your vehicle’s electrical health, but testing continuity and resistance reveals the condition of the wiring and components themselves. When you use your multimeter for circuit continuity and resistance testing, you’ll catch breaks, shorts, or faulty parts early.
Here’s how to test continuity and resistance:
- Set your multimeter to the continuity mode; a beep means the circuit is complete.
- For resistance testing, switch to the ohms setting and connect probes across the component.
- Compare the reading to manufacturer specs; high resistance suggests a problem.
How to Check Engine Health With a Compression Tester
When you want to assess your engine’s internal condition, a compression tester provides valuable insights. It helps you identify issues like engine overheating or low oil pressure caused by worn piston rings, valves, or head gaskets.
To check engine health, remove the spark plugs, screw in the tester, crank the engine, and note the pressure readings on each cylinder. Consistent readings indicate good engine health, while low or uneven pressure signals potential problems.
| Cylinder | Compression PSI | Status |
|---|---|---|
| 1 | 150 | Healthy |
| 2 | 148 | Healthy |
| 3 | 120 | Possible Issue |
| 4 | 122 | Possible Issue |
Low compression in cylinders 3 and 4 suggests wear or leakage, which can cause engine overheating and reduce oil pressure. Regular compression tests help you catch these problems early, preventing costly repairs.
Using a Fuel Pressure Gauge to Diagnose Fuel System Issues
Although fuel system problems can be tricky to pinpoint, using a fuel pressure gauge gives you a clear view of how well your fuel pump and injectors are performing. This tool helps you measure the fuel system’s pressure, letting you spot issues like clogged filters, failing pumps, or leaking injectors quickly.
When you perform pressure testing, follow these steps:
- Connect the fuel pressure gauge to the fuel rail or test port.
- Turn the ignition on without starting the engine to get a static pressure reading.
- Start the engine and observe the gauge for consistent pressure and proper fuel flow.
Using Advanced Scan Tools for In-Depth Car Diagnostics
Because modern vehicles rely heavily on electronic systems, using advanced scan tools lets you quickly access detailed diagnostic information that basic tools can’t provide. These tools use sophisticated automotive software to read and interpret data from multiple vehicle systems simultaneously. Plus, diagnostic cameras help you visually inspect hard-to-reach components, making troubleshooting more accurate.
Here’s a quick look at what advanced scan tools offer:
| Feature | Benefit | Example Use |
|---|---|---|
| Multi-system access | Diagnose engine, transmission, ABS simultaneously | Detect complex faults |
| Real-time data | Monitor sensor output live | Identify intermittent issues |
| Diagnostic cameras | Visual inspection inside engine bays | Spot wiring damage or leaks |
How to Find Hidden Vacuum Leaks With a Smoke Machine
If you suspect a vacuum leak but can’t spot it by sight or sound, a smoke machine lets you pinpoint the problem quickly and accurately. This tool is essential for diagnosing issues within your vehicle’s vacuum system by introducing harmless smoke into it.
A smoke machine reveals hidden vacuum leaks quickly by introducing harmless smoke into your vehicle’s system.
As the smoke escapes from leaks, you can easily see where the problem lies.
Here’s how to use smoke testing to find hidden vacuum leaks:
- Connect the smoke machine to the vacuum system’s intake or a designated test port.
- Activate the machine to fill the system with smoke, watching carefully for smoke escaping from hoses, fittings, or gaskets.
- Trace any visible smoke to pinpoint cracks, loose connections, or worn components causing leaks.
Frequently Asked Questions
How Often Should Diagnostic Tools Be Calibrated for Accuracy?
You should perform calibration frequency checks on your diagnostic tools at least once a year to guarantee accuracy maintenance. If you use them heavily or in harsh environments, consider calibrating more often, maybe every six months.
Regular calibration helps keep your readings precise, preventing misdiagnoses. Don’t wait for errors to appear; proactive calibration frequency ensures your tools always deliver reliable results, saving you time and costly repairs in the long run.
Can Diagnostic Tools Work on Electric or Hybrid Vehicles?
Electric vehicle diagnostics and hybrid system testing aren’t just possible, they’re essential tools in your toolkit. You’ll find that modern diagnostic tools have evolved like a chameleon, adapting to both electric and hybrid vehicles seamlessly.
These tools let you explore battery health, motor functions, and hybrid system components. So, if you’re working on electric or hybrid cars, you won’t be left in the dark. You’ll have the right tech to get the job done.
Are Professional Auto Repair Diagnostic Tools Safe for Beginners?
Yes, professional auto repair diagnostic tools can be safe for beginners if you follow proper safety precautions and undergo beginner training. You’ll want to read manuals carefully, wear protective gear, and make sure the vehicle is off when connecting tools.
Beginner training helps you understand how to use the equipment correctly, reducing risks. With the right approach, you’ll confidently diagnose issues without compromising your safety or the vehicle’s systems.
What Is the Average Cost of Essential Diagnostic Auto Repair Tools?
You might expect essential diagnostic auto repair tools to cost hundreds or even thousands, but many quality options start around $100 to $500. While lower-cost tools save money upfront, you’ll need to weigh tool maintenance and calibration frequency to keep them accurate.
Frequent calibration can add to long-term expenses, so balancing initial cost with upkeep is key. Investing smartly helps you avoid surprises and keeps your tools reliable.
Do Diagnostic Tools Require Software Updates or Subscriptions?
Yes, diagnostic tools often require software updates or subscriptions to guarantee software compatibility with the latest vehicle models and systems. You’ll want to keep your tool’s software current to get accurate diagnostics and avoid compatibility issues.
Also, be mindful of warranty considerations. Using outdated software or unauthorized updates might void your tool’s warranty. Staying updated helps you maintain reliable performance and protects your investment.
Conclusion
Just like a skilled detective uses clues to solve a mystery, you can use these essential diagnostic tools to uncover what’s really going on under your car’s hood. With an OBD-II scanner, multimeter, and other gear, you’ll crack the code on engine troubles and keep your ride running smoothly.
Don’t wait for a breakdown. Equip yourself with the right tools and become the hero your car deserves by mastering these 7 essential diagnostic auto repair tools.