

How to Diagnose and Perform Automobile Air Conditioning Repair
If your car’s air conditioning isn’t blowing cold air or is acting up, you’re not alone. Many people struggle with diagnosing and fixing AC problems, especially when it’s hard to tell what’s wrong or where to start. Understanding how to troubleshoot and repair your automobile air conditioning repair can save you time and money, and keep your rides cool and comfortable.
You can diagnose your car’s AC by spotting signs like warm air, strange noises, or odors inside. Use tools like a manifold gauge to check refrigerant pressure, a multimeter for electrical parts, and UV lights for leaks. Test the compressor clutch and inspect or replace the cabin air filter to improve airflow.
Safely recharge refrigerant following proper steps. Taking these actions helps maintain cooling efficiency and prevent costly repairs. Keep exploring to learn detailed repair and maintenance tips.
Key Takeaways
- Identify early AC issues by checking for warmer air, unusual noises, persistent odors, and uneven cooling inside the vehicle.
- Use diagnostic tools like manifold gauges, multimeters, and UV leak detectors to accurately assess system pressure, electrical faults, and refrigerant leaks.
- Test the AC compressor clutch engagement, refrigerant pressure, and electrical wiring, and use an OBD-II scanner for specific engine codes.
- Replace the cabin air filter regularly to maintain air quality and ensure proper airflow within the AC system.
- Safely recharge refrigerant by locating the low-pressure port, wearing protective gear, and following vehicle-specific guidelines to prevent leaks and damage.
How to Spot Common Car AC Problems
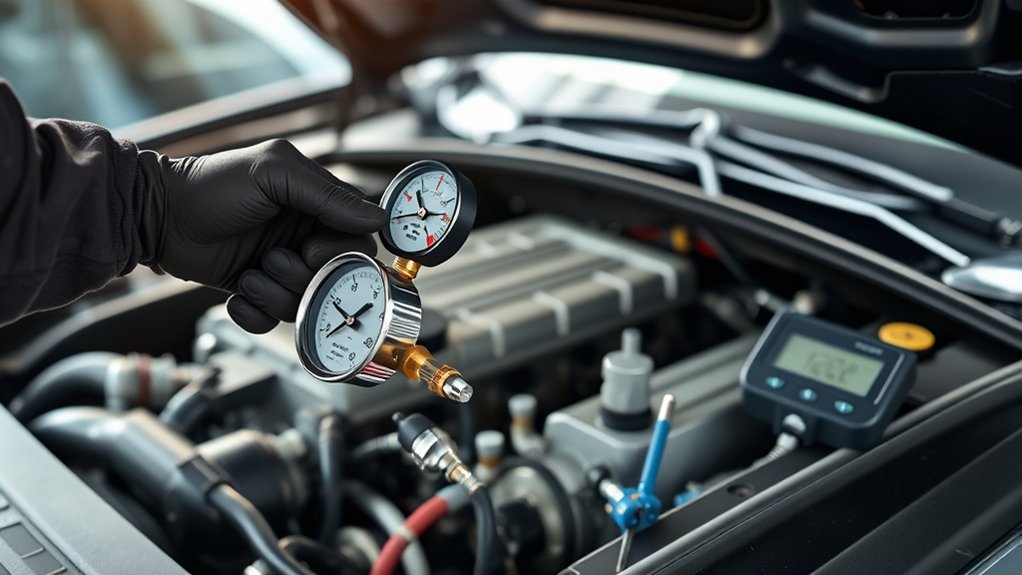
Before your car’s air conditioning system fails completely, you can often catch early warning signs that something’s wrong. You might notice the air blowing warmer than usual or strange noises when you turn on the AC.
Early signs of AC trouble include warmer air and unusual noises when you switch it on.
Pay attention to these subtle cues. They can save you from costly repairs down the road. Remarkably, a malfunctioning AC can indirectly affect your fuel efficiency because your engine works harder to compensate for the system’s issues.
Also, keep an eye on your tire pressure. While it’s not directly related to your AC, maintaining proper tire pressure ensures your vehicle runs smoothly, which helps overall performance, including the AC system.
If you spot uneven cooling or persistent odors inside your car, it’s time to investigate further. Recognizing these common AC problems early lets you address them before they disrupt your comfort or impact your car’s performance.
Tools Needed to Diagnose Your Car’s AC
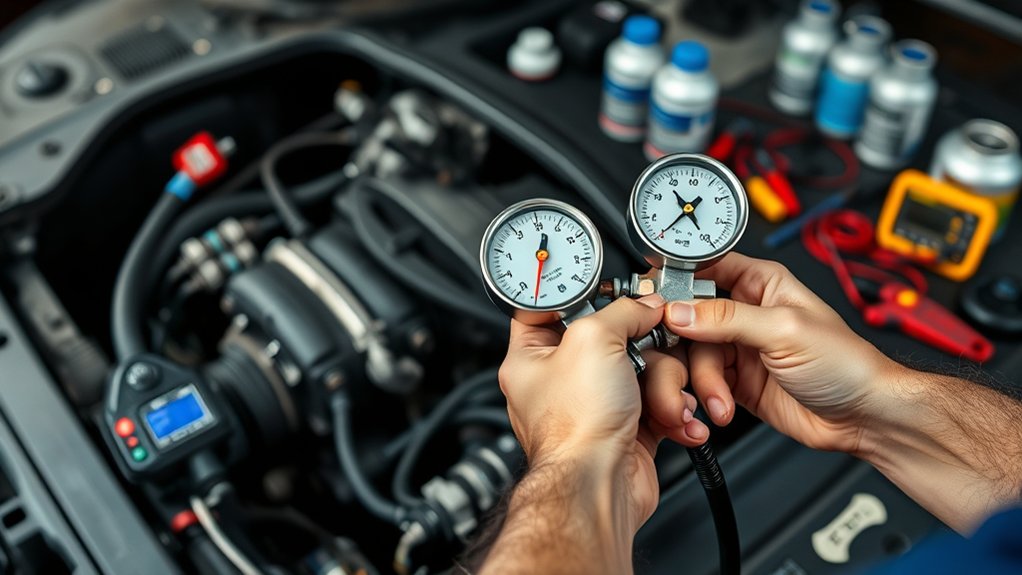
When diagnosing your car’s AC, having the right tools makes the process faster and more accurate. To effectively perform automotive diagnostics on your vehicle’s climate control system, you’ll need equipment that helps identify issues precisely. Without these tools, pinpointing problems becomes guesswork.
Here are the essential tools you should have:
- Manifold gauge set: Measures pressure in the AC system to check for abnormalities.
- Multimeter: Tests electrical components like switches, fuses, and relays.
- Thermometer: Measures air temperature output to assess cooling performance.
- UV leak detector kit: Helps spot leaks using a UV dye added to the refrigerant.
Using these tools lets you accurately diagnose issues like compressor faults, electrical failures, or pressure imbalances in your car’s AC system. This ensures your climate control works efficiently. Proper automotive diagnostics saves time and prevents costly repairs down the road.
How to Check for Refrigerant Leaks in Your Car AC

Since refrigerant leaks reduce your car AC’s cooling efficiency, checking for them is essential to maintain comfort and system health. Start by visually inspecting hoses, connections, and the condenser for oily residue, which often signals refrigerant leaks. You can also listen for hissing sounds that indicate escaping gas.
Refrigerant leaks lower AC cooling—inspect hoses and connections for oily spots and listen for hissing sounds.
For more precise leak detection, use a UV dye and a blacklight. Add the dye to your AC system, run the engine, and shine the blacklight on components. The dye will glow where refrigerant leaks occur, helping you pinpoint the exact location.
Alternatively, you can use an electronic leak detector, which senses escaping refrigerant gas. Move the sensor slowly along AC parts, paying close attention to joints and seals.
Regularly performing leak detection helps you catch refrigerant leaks early, preventing costly repairs and ensuring your AC keeps cooling efficiently. If you find any leaks, address them promptly to avoid further damage.
How to Test Your Car’s AC Compressor
A crucial step in diagnosing your car’s AC system is testing the compressor, as it plays a key role in circulating refrigerant and maintaining cooling. To make sure your compressor functions properly, start by turning on the engine and setting the AC to max cooling.
Listen for any unusual noises and watch if the compressor clutch engages. If it doesn’t, you might have an electrical fault or low refrigerant levels.
Use automotive electronics tools to check the compressor’s electrical connections and clutch operation. Furthermore, perform engine diagnostics to verify the compressor’s pressure readings align with manufacturer specifications.
Here’s a quick checklist to test your AC compressor:
- Confirm compressor clutch engagement when AC is on
- Measure refrigerant pressure using a gauge set
- Inspect electrical wiring and fuses related to the compressor
- Use an OBD-II scanner for AC-specific engine diagnostics codes
Following these steps helps pinpoint compressor issues before moving on to more complex repairs.
How to Inspect and Replace the AC Cabin Air Filter
To keep your car’s air fresh and the AC running smoothly, it’s important to check the cabin air filter regularly. You’ll usually find this filter tucked behind the glove box or sometimes under the dashboard.
Replacing the filter is pretty straightforward. All you have to do is remove the old one, pop in a new filter, and then secure everything back where it belongs. Easy as that!
Locating The Cabin Filter
Although locating the cabin air filter might seem tricky at first, you’ll usually find it behind the glove compartment or under the dashboard. The cabin air filter plays a vital role in your vehicle’s cabin ventilation system by filtering dust, pollen, and debris from the air entering through the air conditioning system.
Before you inspect or replace it, you’ll need to know exactly where it’s housed.
Here’s where to check:
- Behind the glove compartment (most common spot)
- Under the dashboard near the passenger side
- Under the hood near the windshield (less common)
- Behind a removable panel in the center console
Knowing the filter’s location helps you maintain clean airflow and guarantees your air filter is effective in protecting the cabin ventilation system.
Steps To Replace Filter
Replacing your cabin air filter typically takes just a few simple steps and can considerably improve your vehicle’s air quality. First, locate the cabin filter housing, usually behind the glove box or under the dashboard.
Open the compartment carefully and remove the old air filter. Inspect it for dirt, debris, or damage. If it looks clogged, it’s time to replace it.
Slide out the cabin filter gently to avoid scattering dust inside. Insert the new air filter with the airflow arrow pointing in the correct direction, as indicated on the filter or housing.
Close the compartment securely and test the air conditioning system to verify proper airflow. Regularly replacing the cabin filter helps maintain clean air inside your vehicle and improves AC efficiency.
How to Diagnose Electrical Problems in Your Car AC
When your car’s air conditioning stops working, electrical issues are often the hidden culprit. To pinpoint these, start with electrical diagnostics to check power flow and identify faults. You’ll want to focus on circuit troubleshooting to find breaks, shorts, or damaged components that affect AC function.
Begin by inspecting the fuses and relays linked to the AC system. They often cause failures if blown or stuck. Next, test the AC compressor clutch with a multimeter to ensure it’s receiving power.
Don’t forget to examine the wiring harness for corrosion or loose connections, as these can interrupt the circuit. Finally, check the AC control switch and temperature sensors, which control system activation and cycle operation.
- Inspect fuses and relays
- Test compressor clutch power
- Examine wiring harness condition
- Check AC control switch and sensors
How to Recharge Your Car’s AC With Refrigerant Safely
Before you start recharging your car’s AC, make sure the engine is off and the vehicle is parked in a well-ventilated area. It’s really important to have good airflow around you. Also, always wear safety gloves and goggles to protect yourself from refrigerant exposure. Trust me, handling refrigerant carefully is essential—not just to avoid injury, but also to prevent any harm to the environment.
Preparing Your Vehicle
Although recharging your car’s AC might seem straightforward, preparing your vehicle properly is crucial to guarantee safety and effectiveness. Before you begin, confirm your engine tuning is up to date to prevent any performance issues during the recharge. Also, check that your tire balancing is correct to avoid vibrations that could complicate the process.
Next, turn off the engine and allow it to cool down completely to avoid pressure-related accidents. Finally, locate the low-pressure service port, as connecting to the wrong port can cause damage.
To prepare your vehicle:
- Perform engine tuning for peak performance
- Verify proper tire balancing
- Let the engine cool completely
- Identify the low-pressure service port
These steps set the stage for a safe and successful AC recharge.
Handling Refrigerant Safely
Because refrigerants are hazardous and can cause serious injury or environmental damage, you must handle them with care and follow all safety guidelines closely. When recharging your car’s AC, always wear protective gloves and goggles to prevent skin and eye contact.
Work in a well-ventilated area to avoid inhaling harmful fumes. Proper refrigerant handling means using only approved equipment designed for automotive AC systems and avoiding any leaks during the process. Never mix different types of refrigerants, and always check your vehicle’s specifications to use the correct type and amount.
Dispose of empty refrigerant containers according to local regulations. By following these safety precautions, you’ll protect yourself, your vehicle, and the environment while effectively recharging your car’s air conditioning system.
How to Replace Your Car’s AC Condenser or Evaporator
When you notice your car’s air conditioning isn’t cooling properly, replacing the AC condenser or evaporator might be necessary. Start by disconnecting the battery and safely recovering any remaining refrigerant.
Removing the damaged component requires careful attention to maintain automotive aesthetics. Avoid scratching or denting surrounding parts. Use engine diagnostics to ensure no other issues affect the AC system.
Handle the damaged part with care to protect your vehicle’s appearance and check for other AC system issues.
Here’s a quick guide to help you replace the condenser or evaporator:
- Drain and remove the old condenser or evaporator carefully.
- Inspect and replace any worn seals or O-rings to prevent leaks.
- Install the new condenser or evaporator, aligning it properly to avoid damage.
- Recharge the system with the appropriate refrigerant and test for leaks.
Following these steps ensures your AC system runs efficiently, preserving both your vehicle’s performance and its look. Always consult your vehicle’s service manual for specific instructions.
Fixing Noises and Odors in Your Car’s AC System
If your car’s AC is making strange noises or releasing unpleasant odors, it’s a good idea to figure out what’s causing it sooner rather than later. You might notice common sounds like rattling or hissing, and certain smells could point to issues like mold or refrigerant leaks. Once you know what’s going on, you can start fixing the problem and get your system running smoothly again.
Identifying Common AC Noises
While driving, you might notice unusual sounds coming from your car’s AC system that signal underlying problems. These noises not only affect the air conditioning aesthetics but can also indicate issues with your climate control technology. Identifying these sounds early helps you prevent bigger repairs and maintain a comfortable cabin environment.
Common AC noises to listen for include:
- Squealing or whining: Often caused by a worn-out belt or failing compressor.
- Rattling: Could indicate loose parts or debris in the blower motor.
- Hissing: May signal refrigerant leaks or pressure issues.
- Grinding: Usually points to a failing compressor or motor bearings.
Detecting Unpleasant Odors
Though your car’s AC system keeps you cool, it can sometimes produce unpleasant odors that make your drive uncomfortable. To detect these odors, pay attention to musty, moldy, or sour smells when you switch on the AC. These often indicate moisture buildup or mold growth inside the system.
You might also notice a burnt or chemical scent, signaling possible electrical issues or refrigerant leaks. Avoid relying solely on air fresheners, as they mask odors rather than address the root cause. Instead, use an odor eliminator designed for automotive AC systems to help pinpoint persistent smells.
Regularly inspecting the air filter and evaporator can also reveal sources of odor. Catching these signs early helps you maintain a fresh, healthy cabin environment before it worsens.
Solutions for Noise and Odor
How can you effectively eliminate noises and odors from your car’s AC system? Start by addressing common causes like a dirty air filter or mold buildup. These often lead to cabin odor and strange sounds. Regular maintenance is key to keeping your AC quiet and fresh.
Here’s what you can do:
- Replace the air filter regularly to prevent dust and debris buildup.
- Clean the evaporator core to remove mold and mildew causing cabin odor.
- Check and lubricate the blower motor to reduce noisy operation.
- Inspect AC ducts for debris or damage that might cause rattling or airflow noise.
Tips to Maintain Your Car’s Air Conditioning for Long-Term Cooling
To keep your car’s air conditioning working efficiently over time, you need to perform regular maintenance and address minor issues before they escalate. Start by checking your climate control system regularly to guarantee it’s functioning properly. Clean or replace the cabin air filter as recommended to maintain good air circulation, which prevents dust and debris buildup that can reduce cooling efficiency.
Run the AC system periodically, even in cooler months, to keep the compressor lubricated and prevent seals from drying out. Keep an eye on refrigerant levels and have them serviced by a professional if you notice a drop in cooling performance. Avoid parking in direct sunlight whenever possible to reduce strain on your AC system.
Finally, schedule routine inspections to catch leaks or mechanical issues early. Following these tips will help your car’s air conditioning provide long-term, reliable cooling for your comfort.
Frequently Asked Questions
How Often Should I Have My Car’s AC Professionally Serviced?
You should have your car’s AC professionally serviced at least once a year to keep it running efficiently. While DIY tips can help you check for leaks or clean filters, only a pro can properly handle refrigerant types like R-134a or R-1234yf.
Regular service guarantees your system stays charged and prevents costly repairs. Don’t wait until it’s blowing warm air. Schedule a checkup annually to stay cool and comfortable.
Can Using Aftermarket Refrigerants Damage My Car’s AC System?
Oh sure, go ahead and use that mystery refrigerant from a sketchy online seller. What could possibly go wrong? In reality, using aftermarket refrigerants can seriously damage your car’s AC system.
They often lack proper refrigerant compatibility, leading to system contamination and poor performance. You’ll likely end up with costly repairs, clogged components, or even a complete system failure.
Stick to approved refrigerants to keep your AC running smoothly and avoid a hot mess.
What Are the Health Risks of a Malfunctioning Car AC?
If your car AC malfunctions, you risk poor air quality inside your vehicle. This can cause headaches, allergies, or respiratory issues, especially if mold growth occurs in the system.
Mold spores can circulate through the vents, triggering coughing or sneezing. You’ll want to fix any problems quickly to avoid these health risks and keep your cabin air clean and safe for you and your passengers.
How Does Climate Affect the Performance of My Car’s AC?
Climate affects your car’s AC by influencing its air quality and temperature regulation. In hot, humid climates, your AC works harder to cool and dehumidify the air, which can strain the system and reduce efficiency.
In colder or dry areas, it may struggle to maintain comfortable temperatures or clear moisture. You’ll notice better performance when your AC matches the climate demands, so regular maintenance helps guarantee it handles temperature swings and keeps air quality fresh.
When Is It More Cost-Effective to Replace Rather Than Repair the AC?
You might be surprised, but it’s often more cost-effective to replace your AC when multiple components fail or an old system demands constant repairs. If you’re facing frequent breakdowns or the system upgrade promises better efficiency and lower energy use, replacing beats patching up.
When repair costs near or exceed half the price of a new unit, or parts become scarce, opting for a full component replacement saves you money and hassle in the long run.
Conclusion
Did you know that nearly 50% of car AC failures stem from refrigerant leaks? By learning to spot common issues and performing basic repairs, you can avoid costly visits to the mechanic.
With the right tools and safety precautions, you’ll keep your AC running smoothly and enjoy a cool, comfortable ride all year. Regular maintenance not only extends your system’s life but also guarantees you and your passengers stay comfortable no matter the heat outside.
Mastering how to diagnose and perform automobile air conditioning repair is key to keeping your vehicle’s AC in top shape.