
10 Essential Tips for Oil Change and Auto Repair
If you’ve ever felt overwhelmed by oil changes and auto repairs, you’re not alone. Many people struggle with knowing the right oil to use or when to schedule maintenance. It can be frustrating trying to keep your car in top shape without all the expert knowledge.
To keep your vehicle running smoothly, choose oil that matches your engine and driving conditions, and stick to the manufacturer’s change intervals. Always warm the engine briefly before draining oil, use quality tools like a filter wrench and torque wrench, and wear gloves for safety.
Check fluid levels regularly and address warning lights promptly to avoid costly repairs. After any repair, verify no leaks and monitor engine health closely.
Follow these basics, and you’ll be set to maintain your car confidently with more smart tips ahead.
Key Takeaways
- Always use the oil type recommended in your vehicle’s owner manual for optimal engine performance and longevity.
- Change oil between 3,000 to 7,500 miles, adjusting for driving conditions like extreme temperatures or stop-and-go traffic.
- Wear gloves and safety goggles, work in a well-ventilated area, and use proper tools to ensure safety during oil changes.
- Regularly check fluid levels and inspect for leaks after repairs to maintain engine health and avoid costly damage.
- Rotate tires every 5,000 to 7,000 miles and replace worn parts like filters and brake pads to boost vehicle reliability.
How to Choose the Right Oil for Your Vehicle

How do you know which oil suits your vehicle best? Start by checking your owner’s manual for engine compatibility recommendations. Your car’s engine design and materials dictate the type of oil that performs best, so sticking to those guidelines is essential.
Next, weigh the benefits of synthetic vs. conventional oils. Synthetic oils offer superior performance in extreme temperatures and last longer, which can protect your engine better and reduce how often you need to change the oil. Conventional oils, however, are often less expensive and work fine if your vehicle doesn’t demand high-performance lubrication or if it’s an older model.
Also, consider factors like driving conditions and mileage. If you frequently drive in harsh weather or tow heavy loads, synthetic might be the smarter choice. Ultimately, choosing the right oil guarantees your engine runs smoothly, improves fuel economy, and extends engine life. Always prioritize what your engine needs over cost or convenience.
When to Change Your Oil and How Often
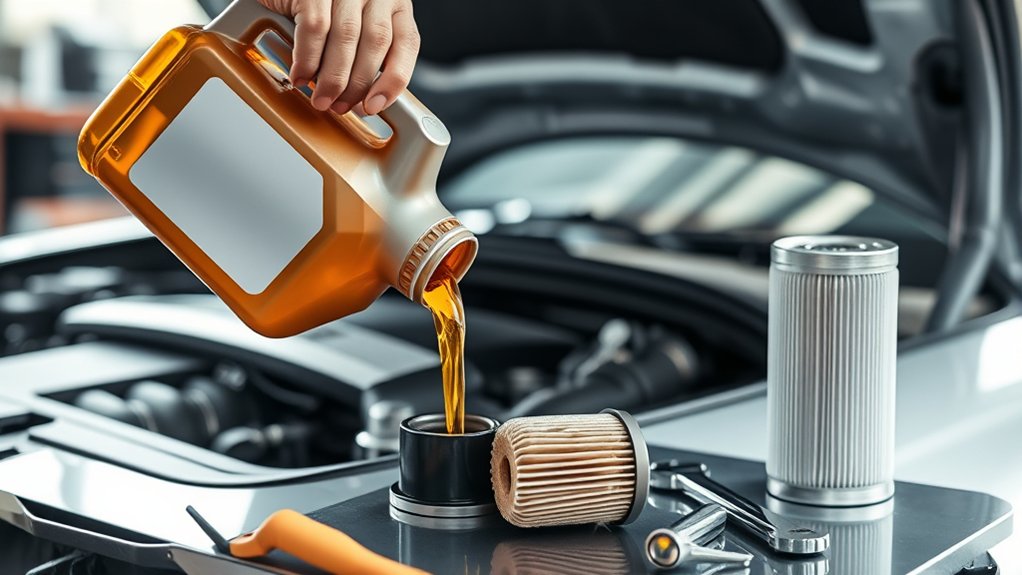
Although it might seem straightforward, knowing when to change your oil can considerably impact your vehicle’s performance and longevity. Regular engine maintenance hinges on timely oil changes, which keep your engine lubricated and running smoothly. Most manufacturers recommend changing your oil every 3,000 to 7,500 miles, but this varies based on your car model and driving conditions.
To maximize oil longevity, check your owner’s manual for specific intervals. If you often drive in stop-and-go traffic, extreme temperatures, or dusty areas, you’ll need to change your oil more frequently. Don’t rely solely on mileage; monitor your oil’s color and consistency regularly. Dark, gritty oil signals it’s time for a change.
Essential Tools for an Easy Oil Change
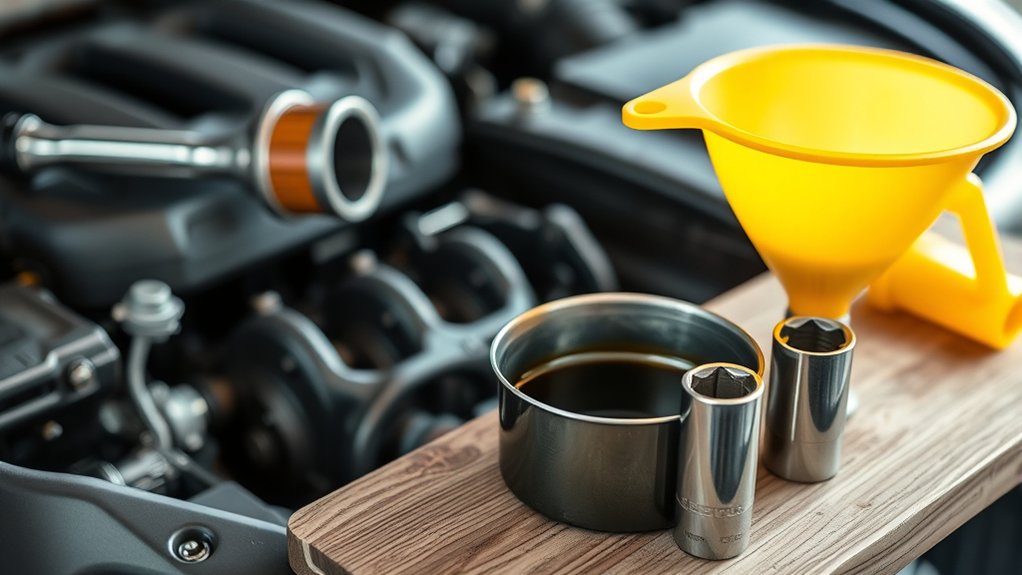
To make your oil change smooth, you’ll want to have the right tools on hand. Things like a wrench, an oil filter remover, and a proper container for the old oil are essential.
Choosing good-quality equipment really helps the job get done quickly and correctly. And hey, don’t forget your safety gear! Gloves and goggles will keep you protected throughout the process.
Must-Have Oil Change Tools
When you’re ready to change your oil, having the right tools on hand makes the process faster and less frustrating. First, you’ll need a quality oil filter wrench to remove the old filter without hassle.
A sturdy oil drain pan is essential to catch used oil safely, especially if you’re switching to synthetic blends or planning to add oil additives for better engine performance. A reliable socket set or wrench helps loosen the drain plug smoothly.
Don’t forget a funnel to pour fresh oil cleanly, avoiding spills. Gloves and rags keep your hands and workspace neat. These must-have tools ensure your oil change goes smoothly, saving you time and effort while maintaining your vehicle’s health effectively.
Choosing the Right Equipment
Having the right tools on hand makes your oil change smoother, but selecting the proper equipment can make all the difference in efficiency and ease. Start with a quality oil filter wrench and a sturdy drain pan to avoid spills.
When picking oil, consider synthetic blends. They offer better protection and last longer than conventional oils. Using oil additives can also improve engine performance and keep parts cleaner, so having them ready is smart.
Don’t forget a reliable funnel to prevent messes when pouring. A torque wrench ensures you tighten the drain plug to the right specification, preventing leaks or damage. By choosing these essential tools and products carefully, you’ll speed up your oil change and maintain your vehicle’s health with minimal hassle.
Safety Gear Essentials
Although changing your oil might seem straightforward, using proper safety gear is essential to protect yourself from burns, spills, and harmful chemicals. Start by putting on gloves made of nitrile or latex to shield your skin from hot oil and contaminants.
Safety goggles will protect your eyes from unexpected splashes. Wearing long sleeves and closed-toe shoes adds an extra layer of protection.
Don’t forget to work in a well-ventilated area to avoid inhaling fumes. These safety precautions not only prevent injuries but also make the process less stressful.
Step-by-Step Oil Change Guide
Before you start, gather all the necessary tools and materials to make the oil change process smooth and efficient. You’ll need synthetic blends or your preferred oil type, oil additives if you want added engine protection, a new oil filter, a wrench, a drain pan, and gloves.
First, warm up the engine for a few minutes to help the oil drain faster. Next, place the drain pan under the oil drain plug and carefully remove the plug with your wrench. Let the old oil fully drain out.
Then, replace the drain plug securely. Remove the old oil filter and install the new one, making sure it’s snug but not over-tightened.
Pour in the new synthetic blend oil, adding oil additives if desired. Then check the oil level with the dipstick to ensure it’s correct.
Finally, start the engine, check for leaks, and dispose of old oil responsibly.
How to Spot When Your Car Needs Professional Repair
Performing regular oil changes keeps your engine running smoothly, but some car issues require more than routine maintenance. If you notice unusual noises, vibrations, or warning lights, it’s time to seek professional repair.
Pay close attention to your tires. Uneven wear might mean you need a tire rotation or alignment check. Ignoring this can lead to costly damage. Also, don’t overlook your brakes. If you hear squealing or feel a spongy brake pedal, schedule a brake inspection immediately. These signs indicate wear or problems that could compromise your safety.
Furthermore, fluid leaks, engine stalling, or difficulty starting suggest deeper issues best handled by experts. While routine upkeep like oil changes and tire rotations keep your car in shape, recognizing when symptoms go beyond maintenance helps you avoid breakdowns and expensive repairs.
Trust your instincts, and when in doubt, have a professional evaluate your vehicle to keep it reliable and safe.
Simple Auto Repairs You Can Do at Home
You don’t need a full mechanic’s shop to handle some common repairs at home—just a few basic tools will do the trick. If you know which fixes you can safely tackle and follow some simple safety steps, you’ll save yourself both time and money. So, let’s dive into the essential tools you’ll need, some common DIY repairs you can try, and the key precautions to keep you safe along the way.
Basic Tool Requirements
Although simple repairs may seem intimidating at first, having the right basic tools makes the process much easier and more efficient. To change your oil, you’ll need a wrench or socket set to loosen the drain plug and an oil filter wrench to remove the oil filter without damage.
A sturdy oil drain pan is essential to catch old oil safely. Moreover, gloves and rags help keep things clean. Having a jack and jack stands allows you to lift your car safely, giving you easy access to the drain plug and oil filter.
Investing in these basic tools lets you handle routine maintenance confidently and save money, making simple auto repairs at home both practical and accessible.
Common DIY Repairs
When you tackle common DIY repairs, you can keep your vehicle in good shape without spending a fortune at the shop. Start by learning basic engine diagnostics using an OBD-II scanner to identify minor issues before they escalate. This tool helps you read error codes, giving insight into engine performance and potential repairs.
Tire maintenance is another essential task you can handle at home. Regularly check tire pressure and tread depth to guarantee safety and improve fuel efficiency. Rotating your tires every 5,000 to 7,000 miles promotes even wear, extending their lifespan.
Other simple repairs include replacing windshield wipers, air filters, and brake pads. These tasks don’t require advanced skills but substantially improve your car’s reliability and safety.
Safety Precautions at Home
Handling basic repairs like checking tire pressure or replacing air filters can save money and boost your car’s reliability. However, prioritizing home safety is essential when working on your vehicle. Practicing good DIY safety keeps you injury-free and prevents damage to your car.
Follow these precautions:
- Always work in a well-ventilated area to avoid harmful fumes.
- Use proper tools and wear safety gear like gloves and goggles.
- Keep your workspace clean and organized to prevent accidents.
- Disconnect the battery before starting electrical repairs to avoid shocks.
Avoid These Costly Repair Mistakes
If you want to save money and keep your vehicle running smoothly, steer clear of common repair mistakes that many drivers make. Avoid costly mistakes like ignoring warning signs or attempting repairs without proper knowledge. These repair pitfalls can lead to bigger issues and higher expenses down the road. Always prioritize timely maintenance and don’t delay repairs.
Here’s a quick look at frequent costly mistakes and how to avoid them:
| Mistake | Consequence | How to Avoid |
|---|---|---|
| Ignoring warning lights | Major engine damage | Address issues early |
| DIY without knowledge | Incorrect repairs | Consult manuals or pros |
| Using cheap parts | Reduced lifespan | Choose quality parts |
| Skipping oil changes | Engine wear | Follow schedule |
| Overlooking leaks | Costly breakdowns | Regular inspections |
How to Find a Reliable Mechanic for Auto Repairs
Knowing how to avoid costly repair mistakes is a great first step, but finding a reliable mechanic guarantees those repairs get done right. You want someone with a strong mechanic reputation who stands behind their work with solid service warranties. Here’s how to find that trusted expert:
Avoid costly repair mistakes by choosing a trusted mechanic with a strong reputation and solid service warranties.
- Check Reviews and Recommendations: Look for mechanics with positive online reviews. Also, ask friends or family for referrals to gauge mechanic reputation.
- Verify Certifications: Make sure the mechanic has proper certifications, like ASE, which show professionalism and skill.
- Ask About Service Warranties: A reliable mechanic offers warranties on parts and labor. This gives you peace of mind.
- Evaluate Communication: Pick a mechanic who explains repairs clearly and answers your questions patiently.
Tips to Keep Your Engine Healthy Between Oil Changes
To keep your engine healthy between oil changes, make it a habit to regularly check your fluid levels. This helps prevent any potential issues before they become serious. Also, try to avoid taking short trips too often. Why? Because they don’t give your engine enough time to reach its ideal temperature. By following these simple steps, you can help extend your engine’s life and keep it running smoothly.
Monitor Fluid Levels
How often do you check your vehicle’s fluid levels between oil changes? Regular fluid maintenance is vital for keeping your engine running smoothly and preventing costly repairs. You don’t want to wait until a problem arises to start level monitoring. Here’s what you should focus on:
- Engine Oil: Check the dipstick to ensure oil is at the proper level and clean.
- Coolant: Maintain the appropriate coolant level to prevent overheating.
- Brake Fluid: Low brake fluid can affect braking performance and safety.
- Transmission Fluid: Proper levels ensure smooth shifting and protect transmission parts.
Avoid Short Trips
Why should you avoid short trips regarding your engine’s health? Short trips, especially common in urban driving, prevent your engine from reaching its ideal operating temperature. When your engine stays cold, moisture and contaminants don’t evaporate properly, leading to sludge buildup and increased wear.
This can reduce the effectiveness of your oil and increase the need for more frequent oil changes. To keep your engine healthy between oil changes, try combining errands or taking longer routes occasionally to let the engine warm up fully. Avoiding frequent short trips helps maintain proper lubrication and prevents corrosion inside your engine.
Essential Steps After an Oil Change or Repair
Although the oil change or repair is complete, you shouldn’t jump back on the road right away. Taking a few extra steps guarantees everything runs smoothly and helps prevent future issues.
After servicing your vehicle, pause before driving to ensure safety and prevent problems.
First, check the oil filter to confirm it’s properly installed and free of leaks. Next, perform engine diagnostics or have a mechanic do it to catch any hidden problems early. Then, inspect fluid levels, including coolant and brake fluid, so your vehicle operates safely.
Finally, keep an eye on your dashboard for warning lights during the first few miles after service.
Here’s a quick checklist to follow:
- Verify the oil filter is secure and leak-free.
- Run engine diagnostics to detect any faults.
- Check all essential fluid levels.
- Monitor dashboard indicators immediately after driving.
Frequently Asked Questions
What Type of Oil Is Best for Extreme Weather Conditions?
For extreme weather conditions, you’ll want oil with the right viscosity ratings to handle engine temperature fluctuations. In cold weather, choose oils with lower “W” ratings like 0W-30 to guarantee smooth starts and quick flow.
In hot climates, thicker oils like 10W-40 help maintain protection at high engine temperatures. Synthetic oils often perform better across extremes, so pick one that matches your engine’s specs for reliable performance.
Can Synthetic Oil Improve My Car’s Fuel Efficiency?
Yes, synthetic oil can improve your car’s fuel efficiency. Its synthetic benefits include better lubrication and reduced engine friction, which helps your engine run smoother and consume less fuel.
How Does Oil Recycling Work After an Oil Change?
After your oil change, the used oil goes through oil collection, where it’s safely gathered to prevent pollution. Then, the recycling process begins: the oil is cleaned, filtered, and refined to remove contaminants.
This recycled oil can be reused in various ways, like making lubricants or fuel. By recycling, you help reduce waste and protect the environment, so always make sure your used oil is properly collected and recycled.
What Are the Environmental Impacts of Improper Oil Disposal?
You might think tossing used oil down the drain is harmless, but it causes serious environmental hazards. Improper disposal methods contaminate soil and water, harming wildlife and even entering your drinking water.
When you don’t dispose of oil correctly, toxic chemicals spread quickly, creating long-lasting damage. To protect the environment, always use proper disposal methods like recycling centers.
You’ll help keep ecosystems safe and reduce pollution risks.
Are Oil Additives Necessary for Older Vehicles?
You don’t always need oil additives for older vehicles, but they can help. Oil additives improve lubrication, reduce wear, and protect engine parts, which supports vehicle longevity.
If your older car’s engine shows signs of wear or leaks, additives might boost performance and extend its life. However, always check your owner’s manual or consult a mechanic before adding anything, so you don’t risk harming your engine or voiding warranties.
Conclusion
Taking care of your oil changes and repairs might seem time-consuming, but it’s easier than you think and well worth the effort. By following these tips, you’ll keep your engine running smoothly and avoid costly breakdowns.
Even if you’re not a car expert, you can handle basic maintenance or confidently find a reliable mechanic. Don’t wait for problems to get worse; staying proactive saves you money and stress.
Remember, regular oil changes and auto repair are key to keeping your vehicle in top shape and preventing bigger issues down the road.